I know the suspense was just awful having to wait to see how this old shelf dweller would turn out after the original posting back in September last year. After all the extra detailing to bring this old kit up to more current standards, I decided to take my sweet time with the finish.
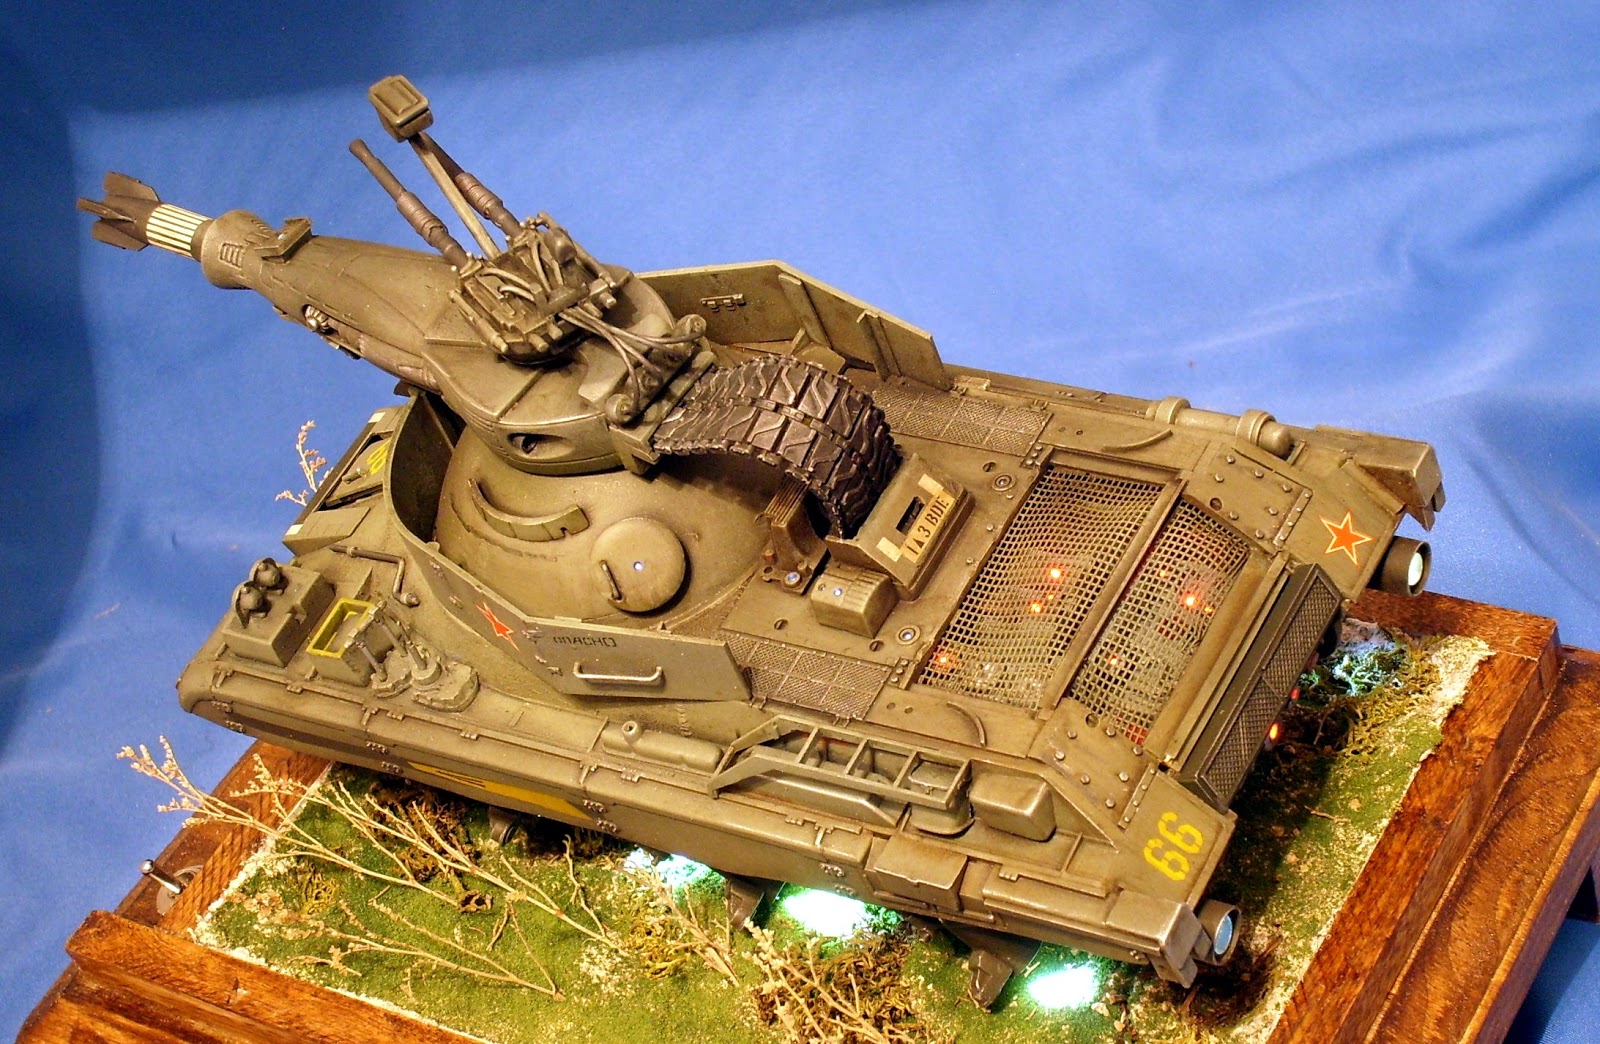
As is my usual custom, I started painting with a dark base coat. In this case I used some Tamiya Nato black to take care of all the nooks and crannies since the model was painted basically complete with the exception of the stowage on the rear deck and the air recognition flag. For the finishing coats on the upper hull, I used a combination of Tamiya dark grey and field blue mixed to about 70 - 80% grey to approximately 20 - 30% blue. I don't tend to use exact measures when mixing so this is my best estimate. I followed this up with a lighter coat mixed with a small amount of Tamiya buff to tone down the color and provide some highlights to all the horizontal surfaces.
For the lower hull and running gear I used a combination of Tamiya colors mixing flat black with flat earth followed by some khaki and desert yellow to bring out the highlights on the shock absorbers, escape hatches and wheels. These highlight colors were heavily thinned to provide maximum control with the airbrush and were floated around the back of the tank and onto the fenders to give the effect of kicked up dust. I should mention here that the road wheels were finished with a base of Tamiya dark grey and after all the earth tones were applied I finished them up with a brush painting of Vallejo dark rubber to get rid of any overspray.
I decided on 11th Panzer Division markings and used Archer Fine Transfers for all the decals. Even though they are dry transfers, I still used some Micro-Sol to help snug them down over a gloss-coated (Future acrylic floor wax) surface. After the decals were applied, I sprayed a second coat of Future over the entire model to seal them and provide a nice smooth surface for the washes and weathering that would follow. A glossy surface helps to control the washes and avoid a splotchy appearance that can be caused by flat coats.
As I mentioned earlier I painted the stowage and air recognition flag off the model to avoid any mistakes and make them easier to finish. The air recognition flag was base coated in flat white and then I made a circle template with some Tamiya masking tape so Tamiya red could be applied over the top. The swastika was outlined with a Micron .5mm pen and filled in using a fine brush with Vallejo flat black. As a final touch, Vallejo dark red was used to provide some shadows on the flag.
The model sat for a few weeks over the holidays, and when I returned to kitchen table I painted all the tools and details using various Vallejo acrylics. I am often asked how I paint the tools on my models. I don't really have a secret method other than to say that I paint each tool handle in a different way on each model so that no two tools look the same. I find that the different colors provide more visual interest on an otherwise plain looking vehicle. I always use Vallejo colors and I generally start with colors that provide a good base for wooden handles like flesh, sunny skin tone, dark yellow, and others. I typically apply two coats and once this base is dry, I follow it up with several washes of saddle brown, red leather, or any other combination of similar tones. For the metal parts, I either use flat black or dark gray. I use flat black for models with a dark base coat and dark grey for those with a lighter base. This helps avoid too much contrast. Once the model is complete (including any sealing coats) I use a Prismacolor pencil and a graphite pencil for the metallic sheen. I vary the formula to make sure each tool is slightly different than the others.
For washes I used Windsor and Newton oils and mineral spirits as well as some of the MIG 502 Abteilung oils. I used some of the earth tones to dry-brush the lower hull and suspension after some washes and I must say that I was really impressed with these colors. They did seem to take a while to dry, but they are really easy to clean up. I used Abt170 German Grey Highlight to dry-brush some of the upper surfaces. It blended well and I really liked the overall effect. To finish up, I mixed some Tamiya flat base with Future to seal the model and used the Prismacolor to highlight the sprocket teeth and track cleats.
While these older kits are not up to the standards of today's technology, with a little TLC and some extra details they can still produce good looking models for about half the cost (or less) of the latest generation kits.