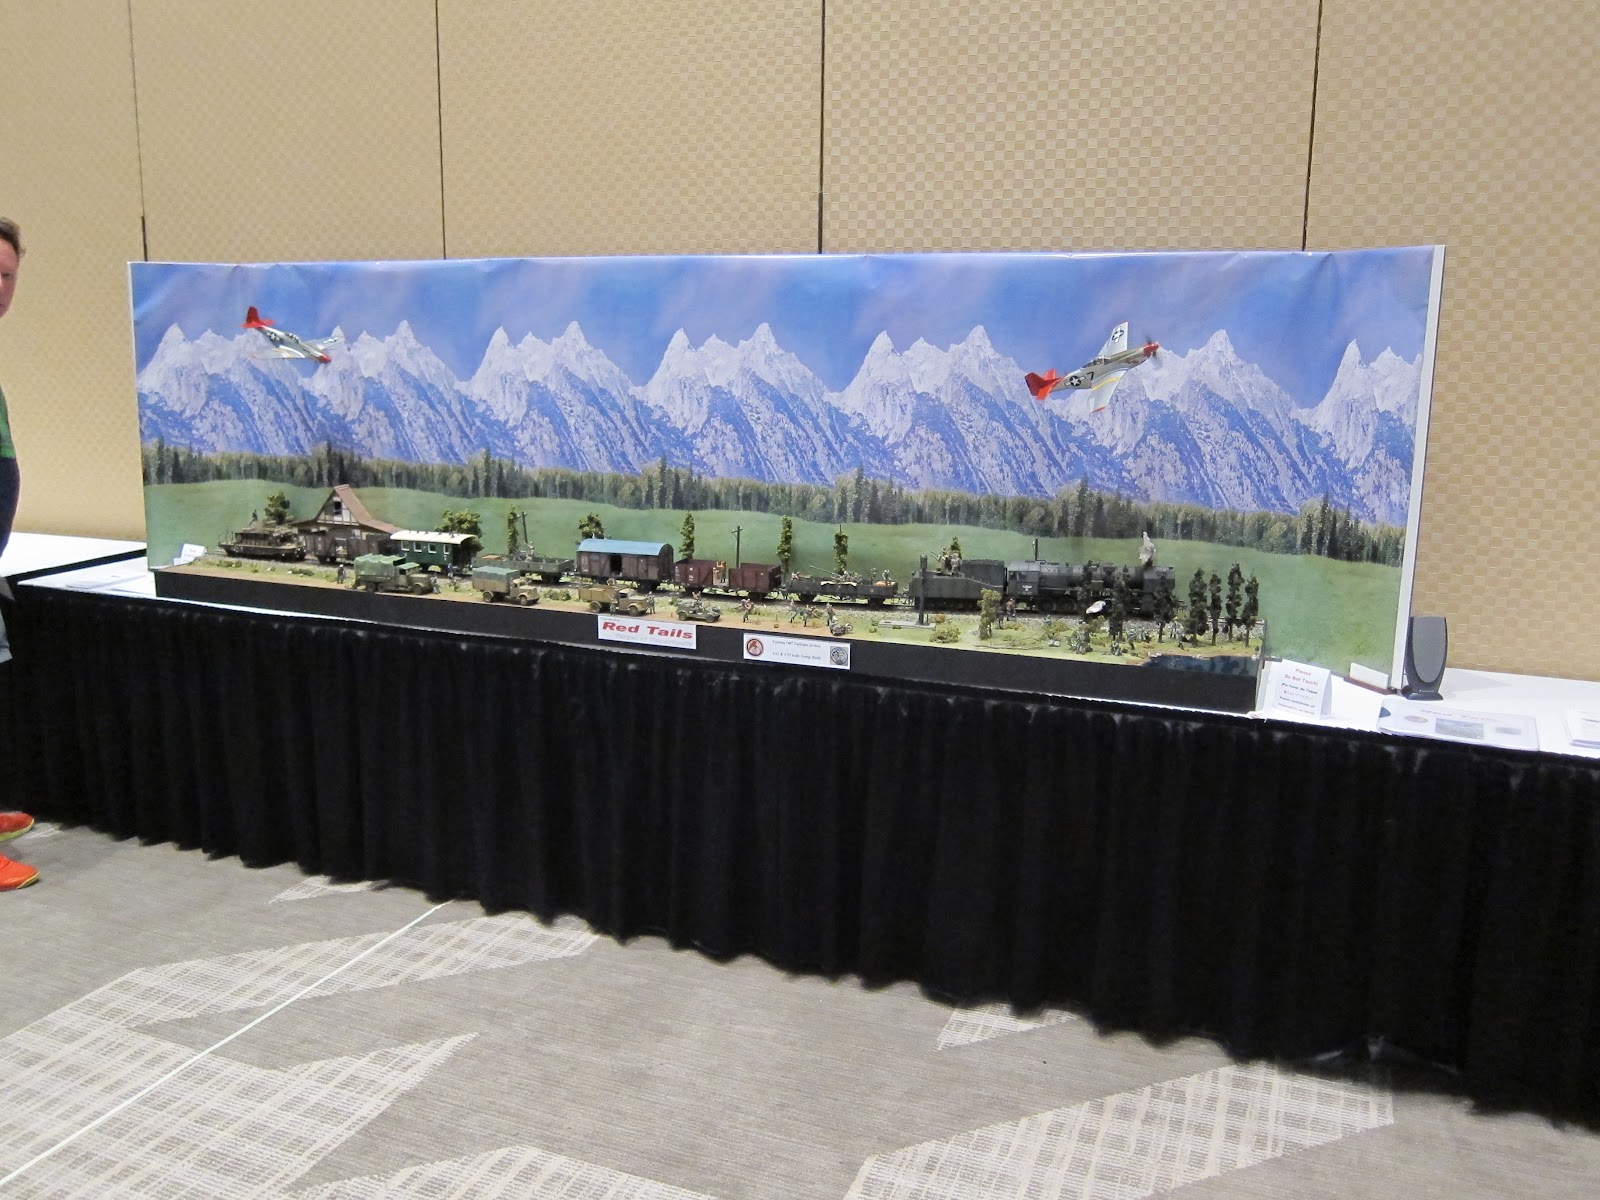
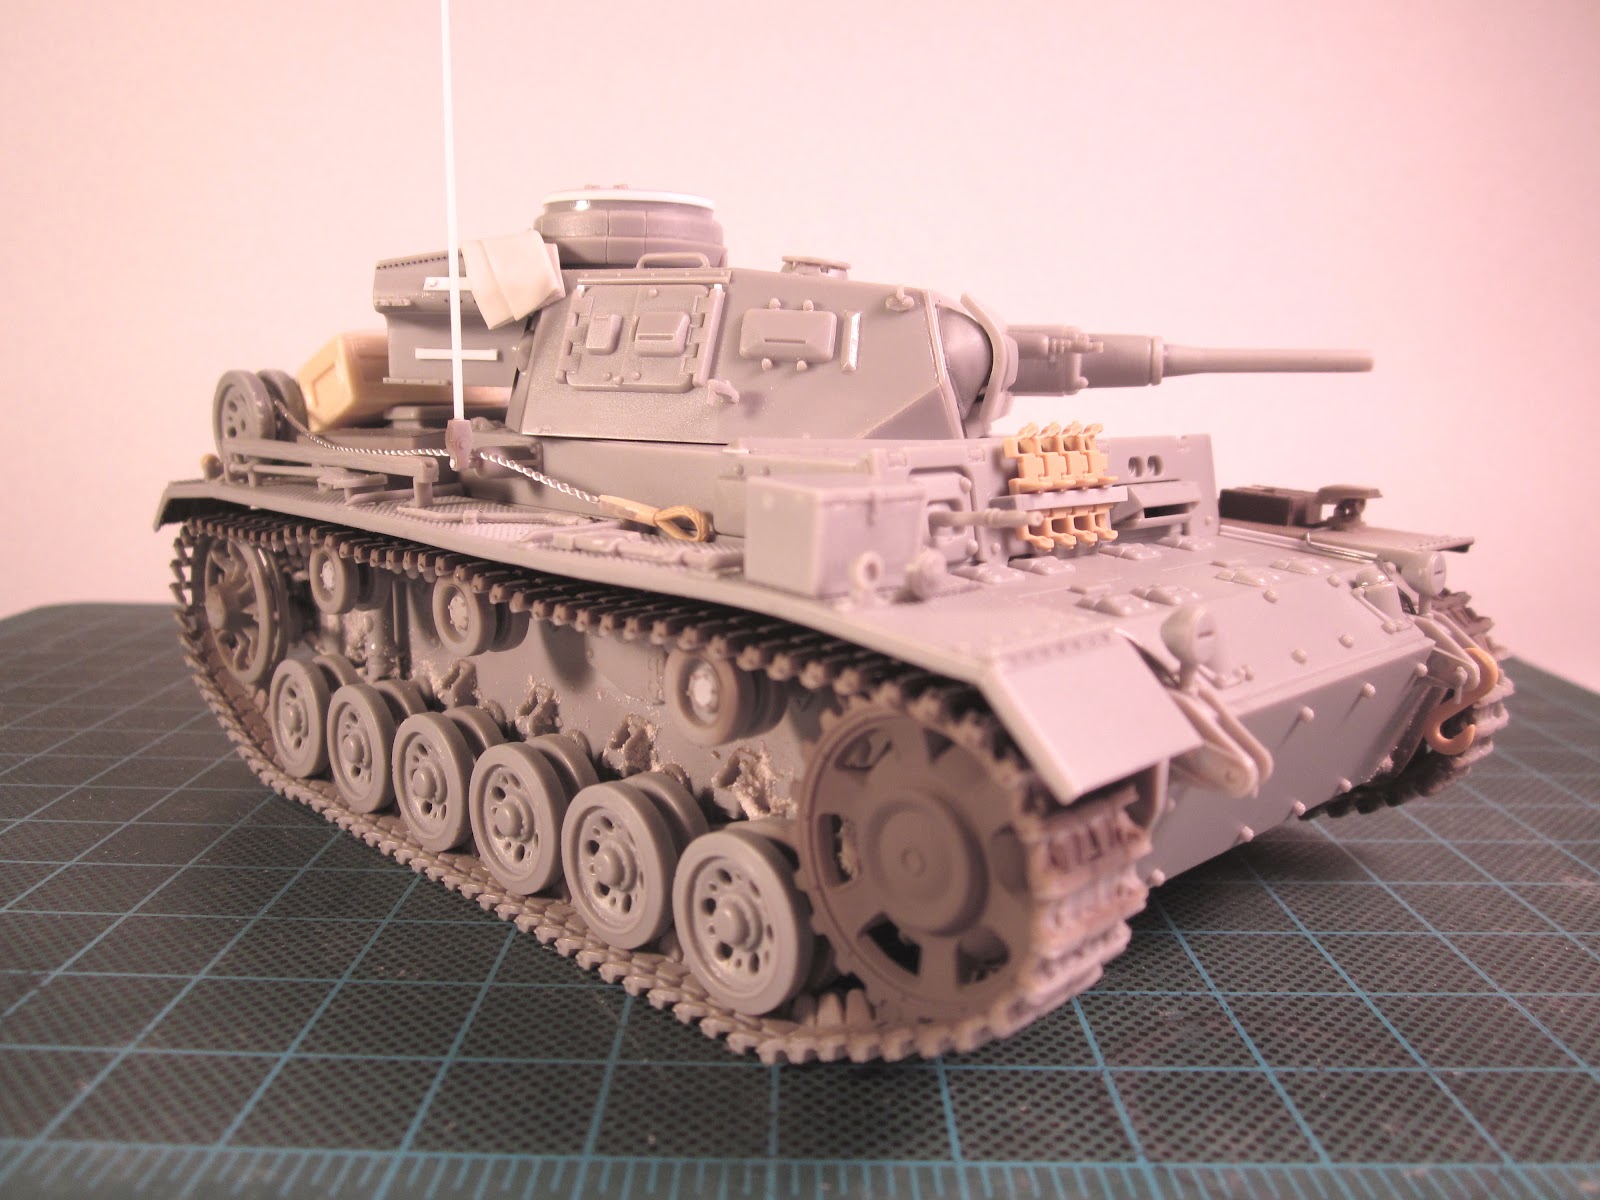
Here's the Dragon Panzer III Ausf. H I pulled off the shelf a few weeks ago after it sat for at least the last four years. It was just a simple out of the box build at the time, but when I pulled it off the shelf and blew off the dust bunnies I decided to spruce it up a bit. The kit was completely built, but other than some red brown paint in a few places, it needed some new paint and TLC. It is beginning to show its age against some of the newest offerings from Dragon, but I decided to see what I could do.
I broke out my ancient copy of Achtung Panzer No. 2 and began adding a few details here and there. I started off by adding the conduit for the lights from lead solder which turned out to be a royal pain. Getting both sides to match up proved to be quite a challenge. The solder is easy to work with, but it is also easy to damage. I had to be careful to avoid pinching it with the tweezers I was using to shape it. I noticed that Dragon now includes this conduit in some of their newer kits and this will no doubt save a lot of frustration.


I usually like to build my own storage boxes for my models, but in the interest of time I ordered some Tank Workshop tool boxes and used one of the long ones on the back deck. I studied some reference photos from various divisions on the Eastern Front and noticed that there was really no standard way of mounting the boxes on the back, so I designed a makeshift rack using some Evergreen angle and strip stock. I superglued a thin sheet of styrene to the bottom of the box to hide the mold plug scar. This made it easier to glue the angle to the bottom of the box. I then glued the two outer strips to the back of the frame and trimmed each piece by eye until I was satisfied that the box was level. Once this was glued to the rear deck it was easy to add the two inside strips. I finished up by adding some hex bolt heads made with a UMM hex punch and die.
I also added handles for the kit tool clasps. I found some old Elefant photo-etch (I'm not sure they're still in business.) parts and used them to add detail to the kit tools. While I was doing this I also added some bolt and strip detail here and there. I added some spare tracks from an old Tamiya Panzer III L kit since they had the same solid guide horns as the kit tracks. I drilled out the ends and shaved off the track pin detail to improve the detail a bit. I also sourced some other Tamiya parts like the tow cable ends, track pins, tail light, and an extra shovel stowed on the rear deck. I also added some wing nuts to the jack and used some Archer surface details to add the rivets to the turret stowage bin, the back of the tool box, the jack block and the front fender hinges. They are expensive, but I highly recommend them.
I didn't want to go over board on the crew equipment since the storage box was pretty large and would hold a lot of equipment. For the stowage I found an Armand Bayardi box that I liked and checked the parts box for some crew gear. I found some helmets that I believe came from an old Tamiya Panzer II and a hammer from another Dragon kit. I then broke out the Magic Sculp and made an air recognition flag and some tarps for the rear deck. I pressed the helmets into the tarps after I had them positioned the way I wanted and being careful to avoid blocking any of the vents on the rear deck.
I haven't quite decided on the paint yet, but I'm thinking 11th Panzer Division.


 Originally I had done this as an NBC vehicle, then decided to hack it up and ad some weapons to it.
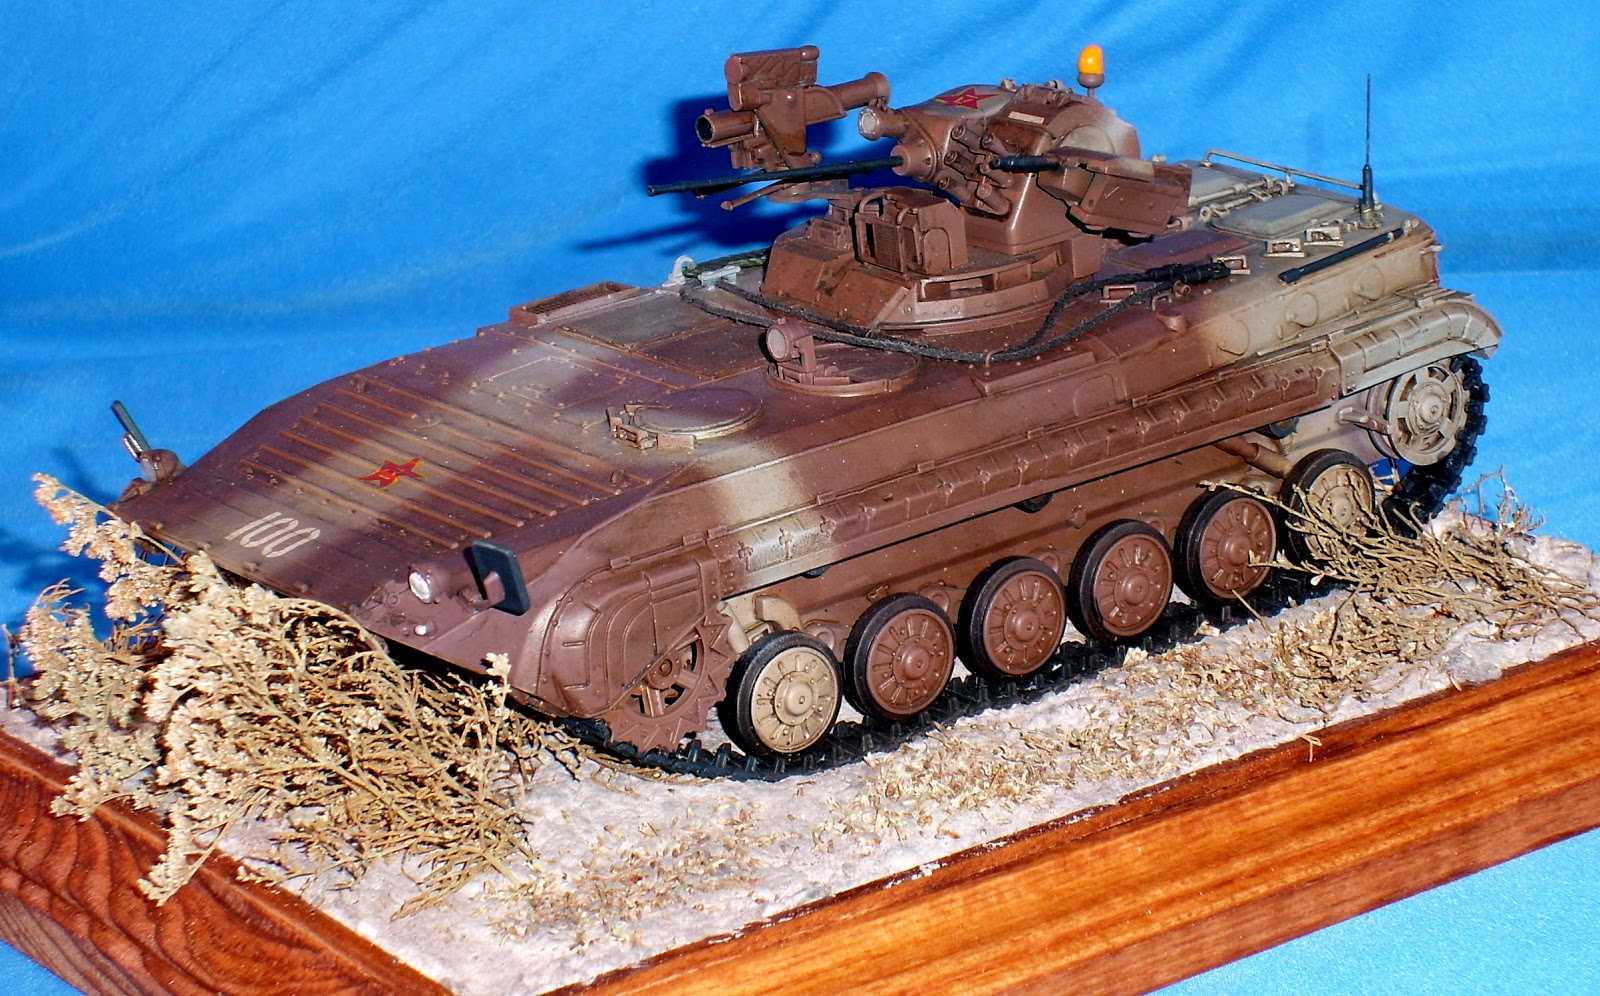 A BMP 2 was modified to have the upgraded weapons turret from a modern Marder.
 The bulk of this was the Star Wars ATAT shell sections mounted on a M3 Half Track chasis.


 This is the Dragon 1/72 scale kit. I am so amazed that anyone would actually use the photo etched parts on this. I opted for the plastic parts so that I could still pick them up with a tweezer. Anyone need a new set of photo etch for a Sherman?
 I completed the main kit out of the box and painted OD green with Enamel. Then I added the detail stowage and repainted. I dullcoated then covered with a thin black wash. More dullcoat and a basic dusting of the white enamel. Then I mared up the white patern by wetbrushing Laquer Thinner on areas of wear.
  Then I glosscoated with Floor Wax and added the decals. I then dulcoated again to seal in the decals and sprayed white again. This provided the look that the white wash had been applied several times in the field.
  At this pont I handpainted the details of the stowage and gear with base colors of green and grey-yellow for the boxes. Another coat of laquer dull and then the main brown / black oil wash. More dullcoating and a final touch up of oil colors on the boxes and stowage. After a final sealing of dullcoat, I drybrushed the details.

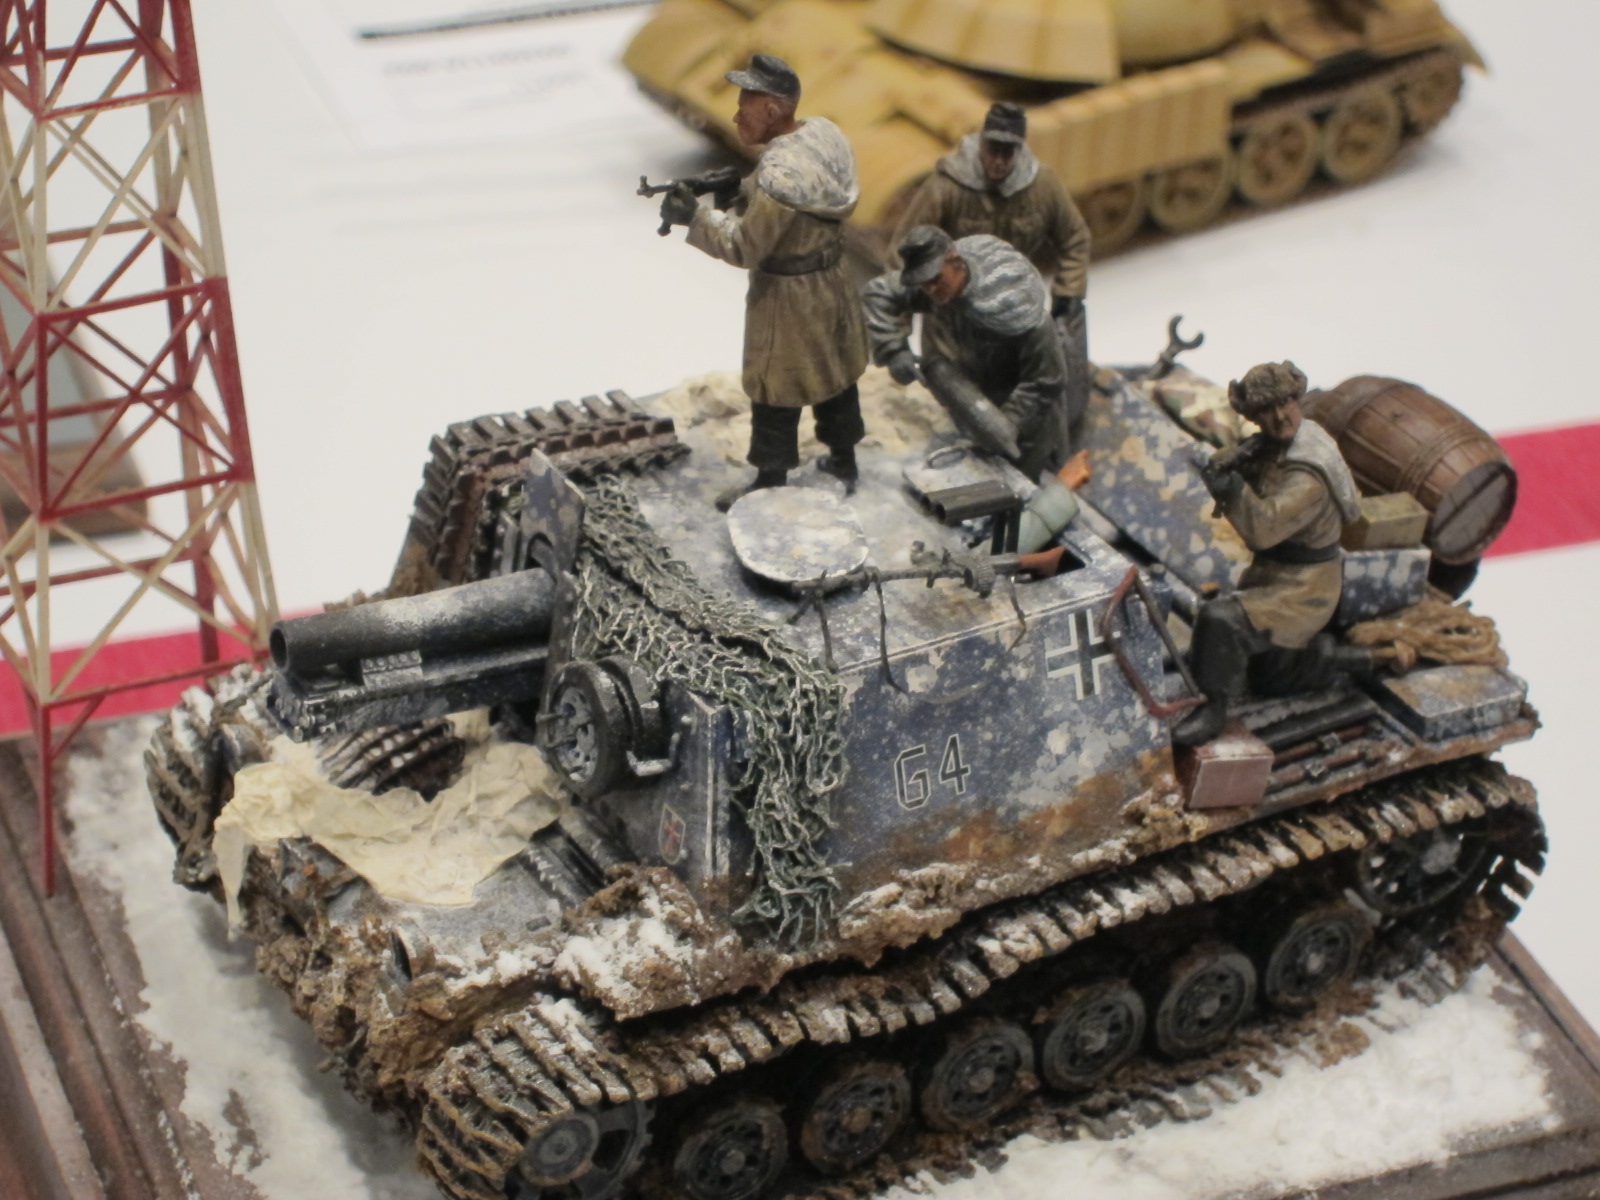


 This started out as a Polish tank, but ended up as a WarHammer piece.