Sunday, February 17, 2013

Shelf Queen II - The Final Chapter: Panzer III H cont'd

I know the suspense was just awful having to wait to see how this old shelf dweller would turn out after the original posting back in September last year.  After all the extra detailing to bring this old kit up to more current standards, I decided to take my sweet time with the finish.

As is my usual custom, I started painting with a dark base coat.  In this case I used some Tamiya Nato black to take care of all the nooks and crannies since the model was painted basically complete with the exception of the stowage on the rear deck and the air recognition flag.  For the finishing coats on the upper hull, I used a combination of Tamiya dark grey and field blue mixed to about 70 - 80% grey to approximately 20 - 30% blue. I don't tend to use exact measures when mixing so this is my best estimate.  I followed this up with a lighter coat mixed with a small amount of Tamiya buff to tone down the color and provide some highlights to all the horizontal surfaces.

For the lower hull and running gear I used a combination of Tamiya colors mixing flat black with flat earth followed by some khaki and desert yellow to bring out the highlights on the shock absorbers, escape hatches and wheels.  These highlight colors were heavily thinned to provide maximum control with the airbrush and were floated around the back of the tank and onto the fenders to give the effect of kicked up dust.  I should mention here that the road wheels were finished with a base of Tamiya dark grey and after all the earth tones were applied I finished them up with a brush painting of Vallejo dark rubber to get rid of any overspray.

I decided on 11th Panzer Division markings and used Archer Fine Transfers for all the decals.  Even though they are dry transfers, I still used some Micro-Sol to help snug them down over a gloss-coated (Future acrylic floor wax) surface.  After the decals were applied, I sprayed a second coat of Future over the entire model to seal them and provide a nice smooth surface for the washes and weathering that would follow.   A glossy surface helps to control the washes and avoid a splotchy appearance that can be caused by flat coats.

As I mentioned earlier I painted the stowage and air recognition flag off the model to avoid any mistakes and make them easier to finish.  The air recognition flag was base coated in flat white and then I made a circle template with some Tamiya masking tape so Tamiya red could be applied over the top.  The swastika was outlined with a Micron .5mm pen and filled in using a fine brush with Vallejo flat black. As a final touch, Vallejo dark red was used to provide some shadows on the flag.

The model sat for a few weeks over the holidays, and when I returned to kitchen table I painted all the tools and details using various Vallejo acrylics.  I am often asked how I paint the tools on my models.  I don't really have a secret method other than to say that I paint each tool handle in a different way on each model so that no two tools look the same.  I find that the different colors provide more visual interest on an otherwise plain looking vehicle.  I always use Vallejo colors and I generally start with colors that provide a good base for wooden handles like flesh, sunny skin tone, dark yellow, and others.  I typically apply two coats and once this base is dry, I follow it up with several washes of saddle brown, red leather, or any other combination of similar tones. For the metal parts, I either use flat black or dark gray.  I use flat black for models with a dark base coat and dark grey for those with a lighter base.  This helps avoid too much contrast.  Once the model is complete (including any sealing coats) I use a Prismacolor pencil and a graphite pencil for the metallic sheen.     I vary the formula to make sure each tool is slightly different than the others.  

For washes I used Windsor and Newton oils and mineral spirits as well as some of the MIG 502 Abteilung oils.  I used some of the earth tones to dry-brush the lower hull and suspension after some washes and I must say that I was really impressed with these colors.  They did seem to take a while to dry, but they are really easy to clean up.  I used Abt170 German Grey Highlight to dry-brush some of the upper surfaces.  It blended well and I really liked the overall effect.  To finish up, I mixed some Tamiya flat base with Future to seal the model and used the Prismacolor to highlight the sprocket teeth and track cleats.

While these older kits are not up to the standards of today's technology, with a little TLC and some extra details they can still produce good looking models for about half the cost (or less) of the latest generation kits.


Sunday, February 10, 2013

Frantentank (Ivan Der Wolfe)

Frantentank (Ivan Der Wolfe)

Well, its done...


And yes it does light up.


Tuesday, December 18, 2012

Cool!

From Gizmodo;

Is This the Job With the Best Views of the World? 


 and it's real. Not photoshoped.

For more:
http://gizmodo.com/5969246/is-this-the-job-with-the-best-views-of-the-world/gallery/1

Saturday, December 8, 2012

Frankentank (Big Bad Wolf)

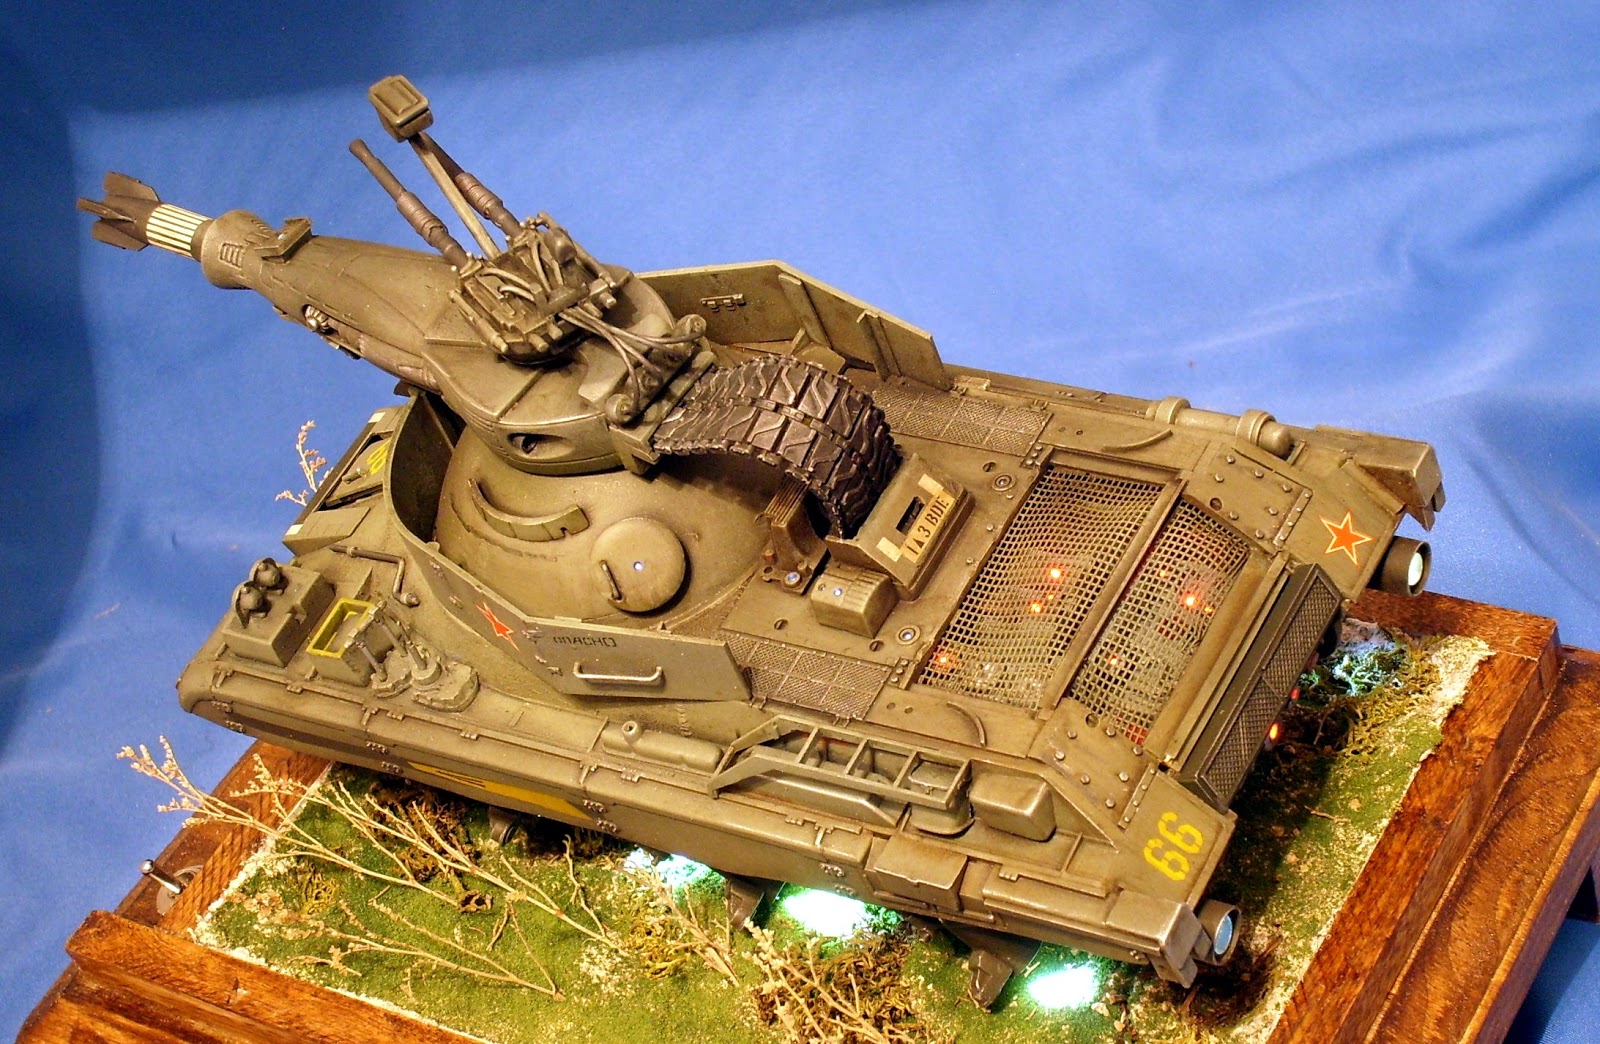
 Once I had a general idea in mind for the shape and function of the tank, I decided toput some light on the subject starting with the engine compartment. This is the main power drive for the 6 hover lift and guidane engines and the 2 power thrust engines.


 I designed the engines from plastic and brass tubing inserting super bright LEDs inside and wiring all to the internal hull.
 
 Tha main gun is a belt fed cannon system while the upper gun is a particle beam weapon. These opperate independantly from each other, rotating on a spherical axis.
 
 The upper hull is from some WWII Russian armor. Notice the screened in power plant compartment on the rear deck.
 
Vince B.  Dec 8, 2012.


Monday, November 12, 2012

o.k once again guys here some stuff that i found may be a cartoon but at least have tanks in.......you can find the rest in youtube.com by searching for girls and a panzer

http://www.youtube.com/watch?v=VAAnUqhKWZI&feature=related

here is one link for you guys the rest is in youtube  have fun.

Wednesday, October 31, 2012

Used Armor

To add to Kevin's post, I have also found some interesting used armor. Since I like armored cars, that is what they are. A German Border Police M8 and a couple of M20s is police service in the US.


Sunday, October 28, 2012

For the WWII surplus theme that was picked for the next club contest I Came across some inspiration.


And if Russian tank monuments count then

Saturday, October 13, 2012

Frankentank Examples

I want to encourage everyone who s interested in participating, to think about what they want to build. Over the years I have done a lot of prjects which would be considered FrankenTanks. Here are a few styles for you to consider.
 

 Originally I had done this as an NBC vehicle, then decided to hack it up and ad some weapons to it.

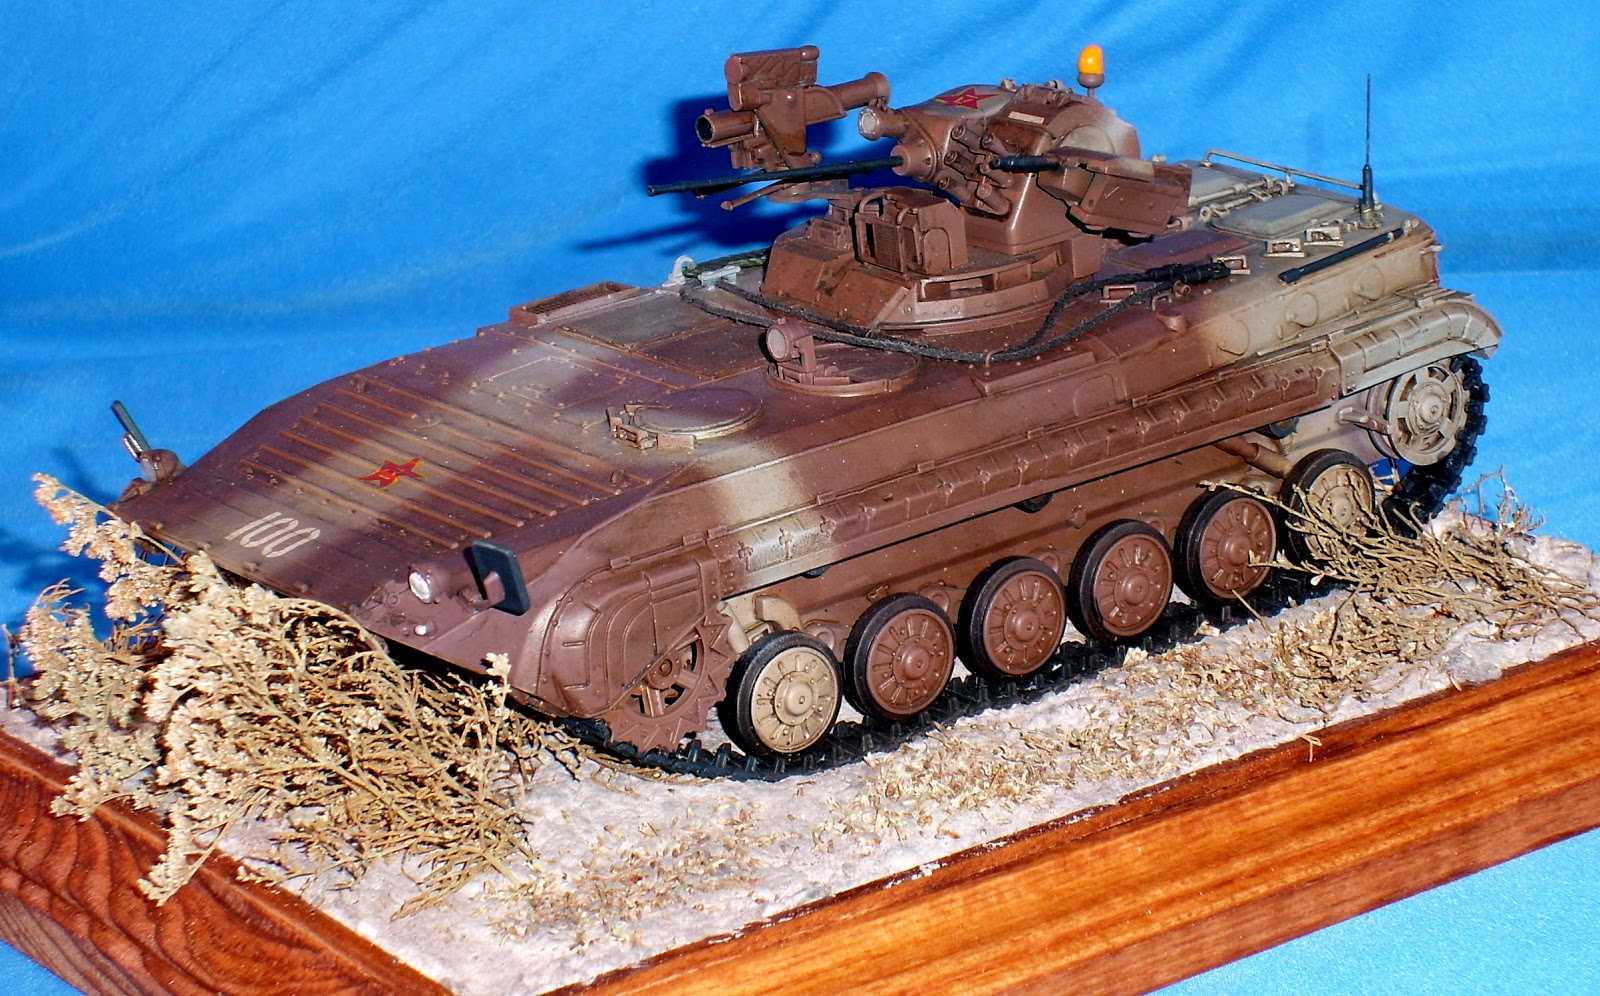
 A BMP 2 was modified to have the upgraded weapons turret from a modern Marder.

 The bulk of this was the Star Wars ATAT shell sections mounted on a M3 Half Track chasis.

Thursday, October 11, 2012

Armor Lego's Style?

Check out this post about a 14 year old kid from the Netherlands.
He built a bunch of tanks and dioramas that are pretty nice.

Different.. and interesting :-)

http://gizmodo.com/5950663/this-14+year+old-kid-is-a-lego-genius


Monday, September 3, 2012

Perfect Gift

A  friend of mine showed me this on her phone last night. I was able to track it down for you all. The perfect gift for the avid Armor Builder.

Sunday, September 2, 2012

Shelf Queen - Panzer III H

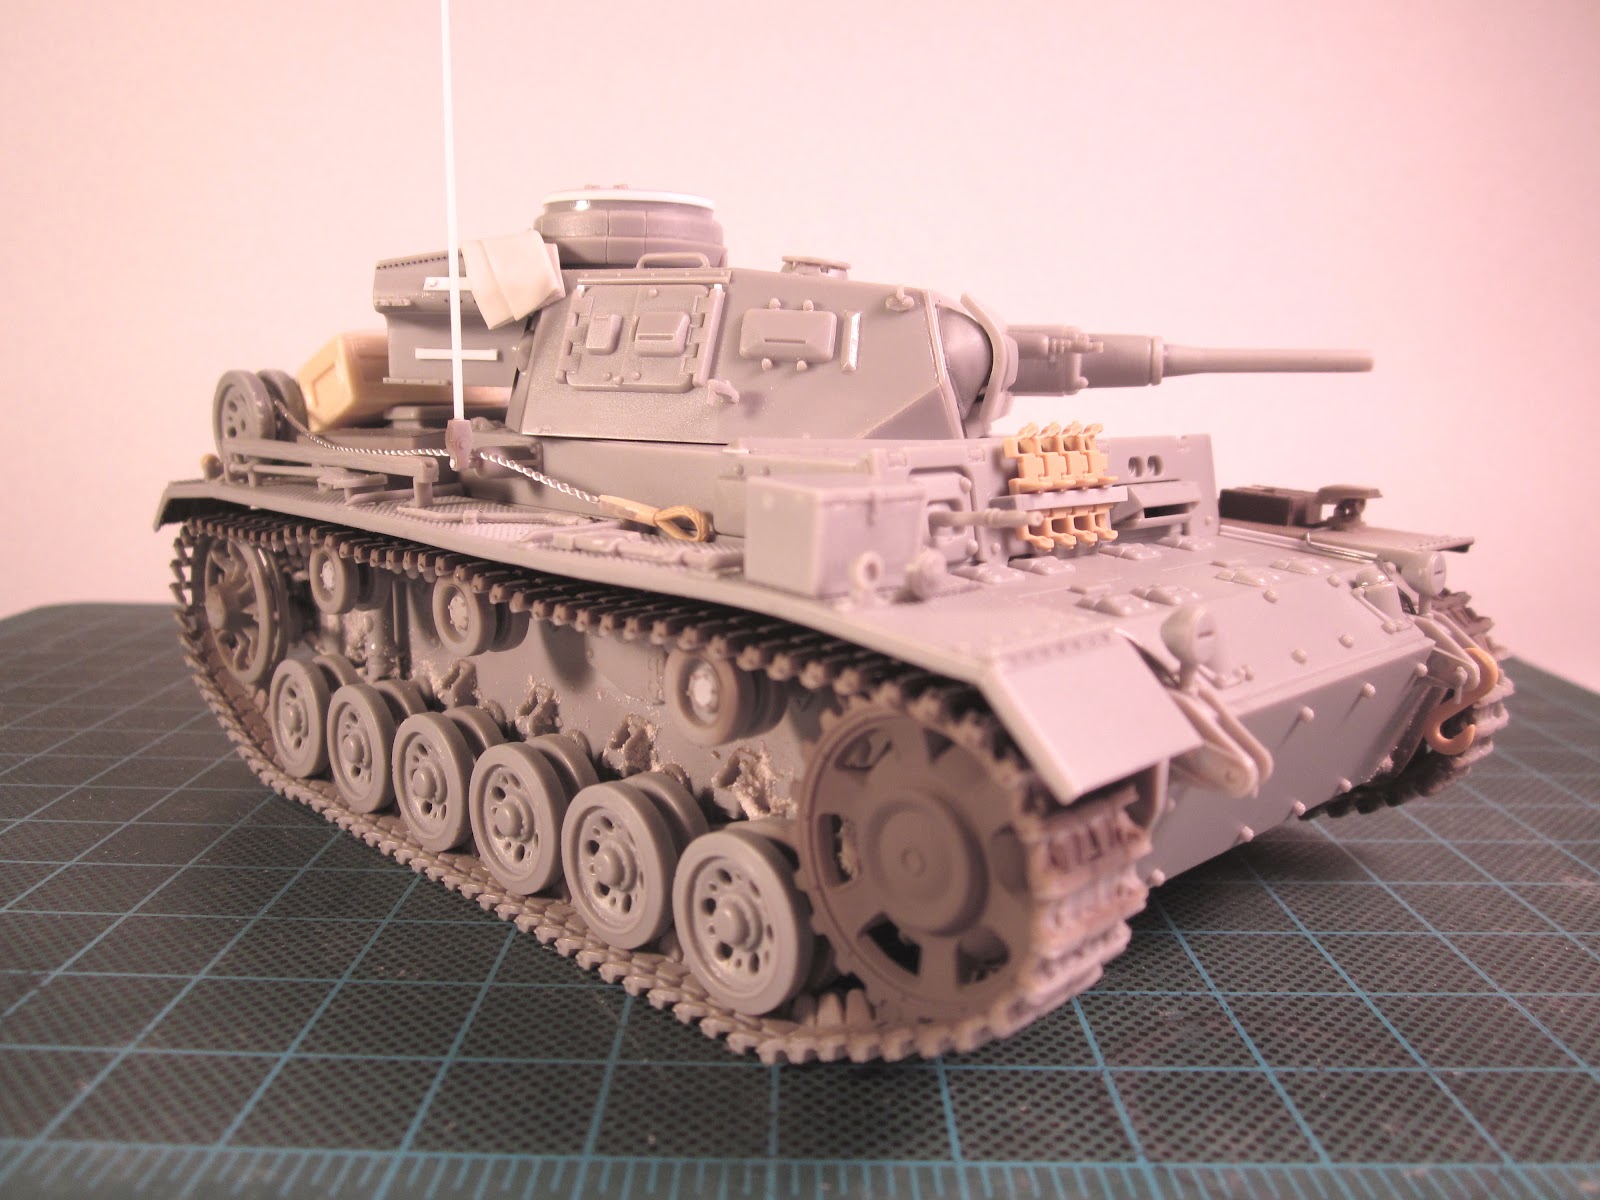
Here's the Dragon Panzer III Ausf. H I pulled off the shelf a few weeks ago after it sat for at least the last four years.  It was just a simple out of the box build at the time, but when I pulled it off the shelf and blew off the dust bunnies I decided to spruce it up a bit.  The kit was completely built, but other than some red brown paint in a few places,  it needed some new paint and TLC.  It is beginning to show its age against some of the newest offerings from Dragon, but I decided to see what I could do.

I broke out my ancient copy of Achtung Panzer No. 2 and began adding a few details here and there.  I started off by adding the conduit for the lights from lead solder which turned out to be a royal pain.  Getting both sides to match up proved to be quite a challenge.  The solder is easy to work with, but it is also easy to damage.  I had to be careful to avoid pinching it with the tweezers I was using to shape it.  I noticed that Dragon now includes this conduit in some of their newer kits and this will no doubt save a lot of frustration.


I usually like to build my own storage boxes for my models, but in the interest of time I ordered some Tank Workshop tool boxes and used one of the long ones on the back deck. I studied some reference photos from various divisions on the Eastern Front and noticed that there was really no standard way of mounting the boxes on the back, so I designed a makeshift rack using some Evergreen angle and strip stock.  I superglued a thin sheet of styrene to the bottom of the box to hide the mold plug scar.  This made it easier to glue the angle to the bottom of the box. I then glued the two outer strips to the back of the frame and trimmed each piece by eye until I was satisfied that the box was level.  Once this was glued to the rear deck it was easy to add the two inside strips.  I finished up by adding some hex bolt heads made with a UMM hex punch and die.

I also added handles for the kit tool clasps.  I found some old Elefant photo-etch (I'm not sure they're still in business.) parts and used them to add detail to the kit tools. While I was doing this I also added some bolt and strip detail here and there.  I added some spare tracks from an old Tamiya Panzer III L kit since they had the same solid guide horns as the kit tracks.  I drilled out the ends and shaved off the track pin detail to improve the detail a bit.  I also sourced some other Tamiya parts like the tow cable ends, track pins, tail light, and an extra shovel stowed on the rear deck.  I also added some wing nuts to the jack and used some Archer surface details to add the rivets to the turret stowage bin, the back of the tool box, the jack block and the front fender hinges. They are expensive, but I highly recommend them.

I didn't want to go over board on the crew equipment since the storage box was pretty large and would hold a lot of equipment.  For the stowage I found an Armand Bayardi box that I liked and checked the parts box for some crew gear. I found some helmets that I believe came from an old Tamiya Panzer II and a hammer from another Dragon kit.  I then broke out the Magic Sculp and made an air recognition flag and some tarps for the rear deck.  I pressed the helmets into the tarps after I had them positioned the way I wanted and being careful to avoid blocking any of the vents on the rear deck.

I haven't quite decided on the paint yet, but I'm thinking 11th Panzer Division.

Tuesday, August 14, 2012

M4A3 Sherman with 105MM Howitzer


 This is the Dragon 1/72 scale kit. I am so amazed that anyone would actually use the photo etched parts on this. I opted for the plastic parts so that I could still pick them up with a tweezer. Anyone need a new set of photo etch for a Sherman?


I completed the main kit out of the box and painted OD green with Enamel. Then I added the detail stowage and repainted. I dullcoated then covered with a thin black wash. More dullcoat and a basic dusting of the white enamel. Then I mared up the white patern by wetbrushing Laquer Thinner on areas of wear.

Then I glosscoated with Floor Wax and added the decals. I then dulcoated again to seal in the decals and sprayed white again. This provided the look that the white wash had been applied several times in the field.

At this pont I handpainted the details of the stowage and gear with base colors of green and grey-yellow for the boxes. Another coat of laquer dull and then the main brown / black oil wash. More dullcoating and a final touch up of oil colors on the boxes and stowage. After a final sealing of dullcoat, I drybrushed the details.
Vince Barrale  Aug 14-2012


Sunday, August 12, 2012

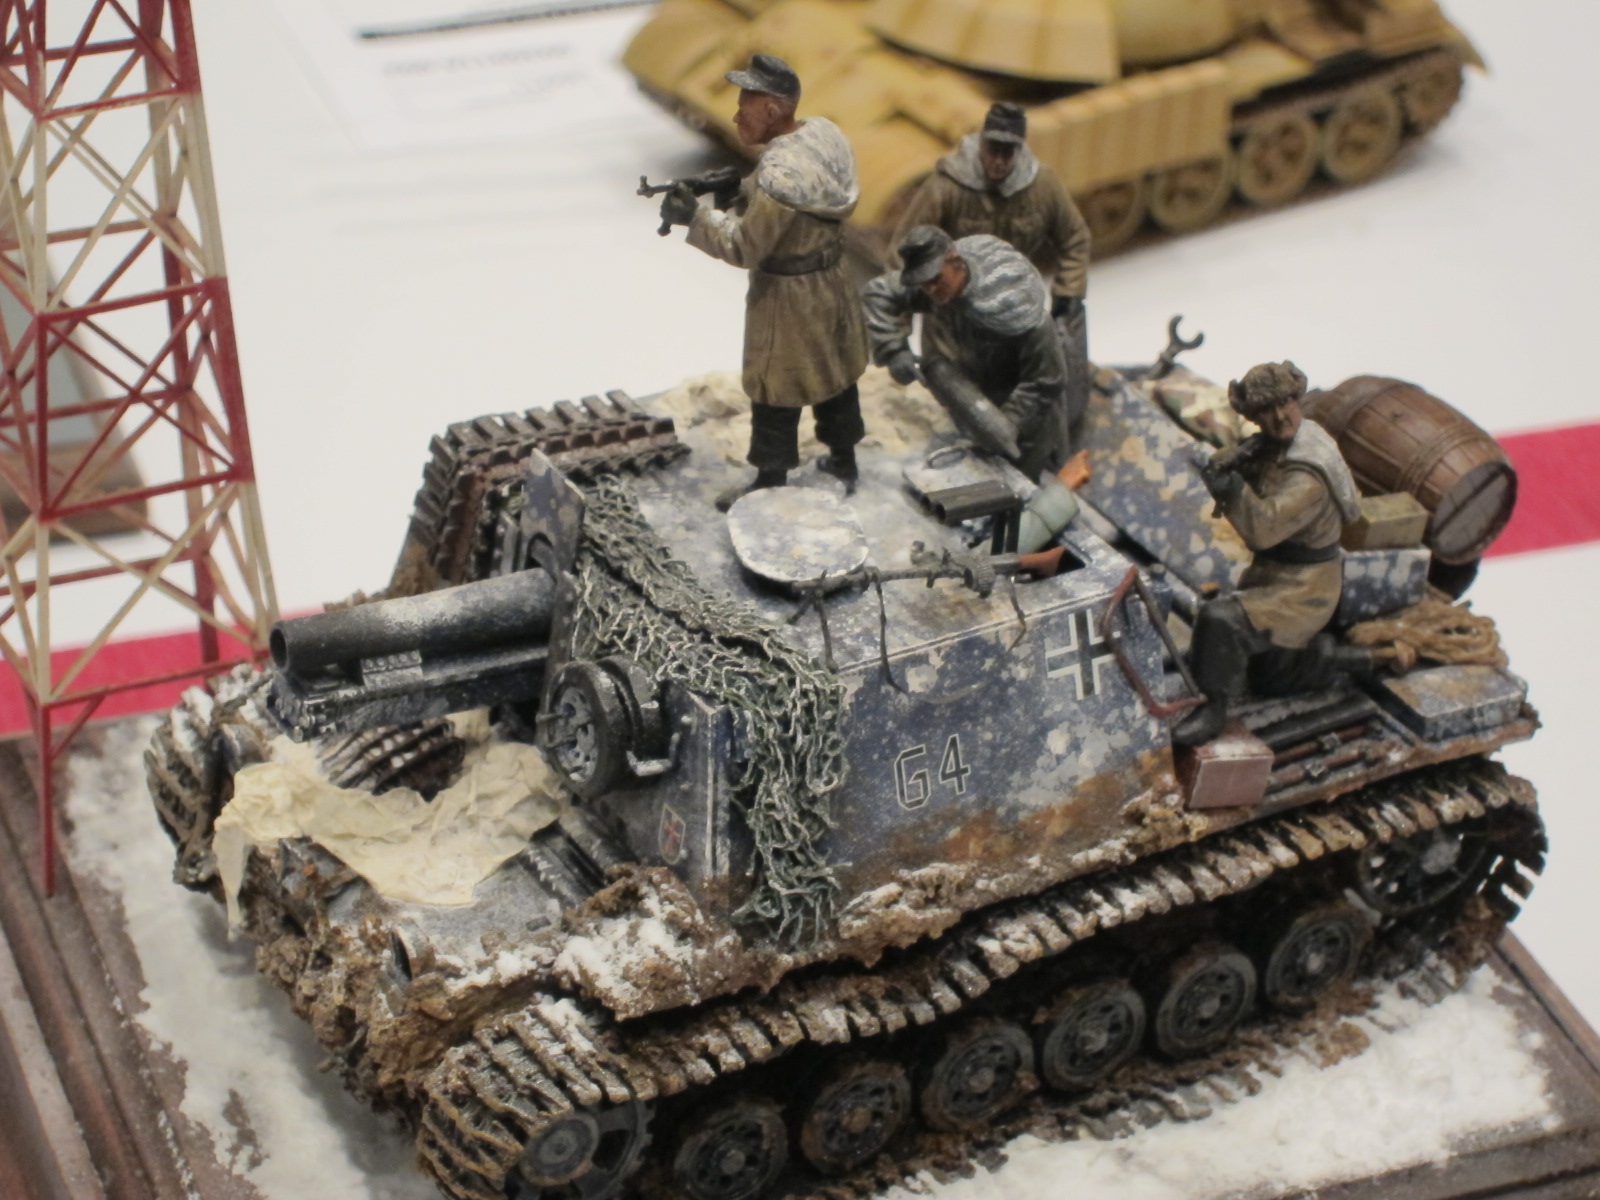
as i said and everybody knows that in ww2 the use what they can find to shoot back  here is this pictures of the captured german tank destroyer

Saturday, August 11, 2012

IPMS USA 2012 is in the books.
David Hogue - aircraft and ship builder got 1 ist 1 2nd in aircraft, 2 2nd in ships and 1 3rd in aircraft dioramas
Ed Rains got a 1st in large comp aircraft doramas
James Sharp McKinney Tx got a 3rd in OOB Softskins
I got a 2nd in OOB tracked open top and a 2nd in Halftracks and Armored cars.

Here are the photos of these two.

I will see the IPMS folks on tuesday.
Tom

Friday, August 10, 2012

As of Noon today there were approximately 490 armor models on the table. I placed 15 so I have about 3% of the armor Models on the tables.

Guessing Game Time!!!!!
One of these photos has a glaring error. can you pick it out?
First person to post a comment that has the correct answer wins a prize!


Here are some photos.

Anders Bike Shop Details

I stumbled on this web site. It has stunning dioramas. They are more at the bottom of the web page too. No armor for us :-) but amazing talent and technique.


I love the metal chips around the lathe...


Enjoy!
Fred