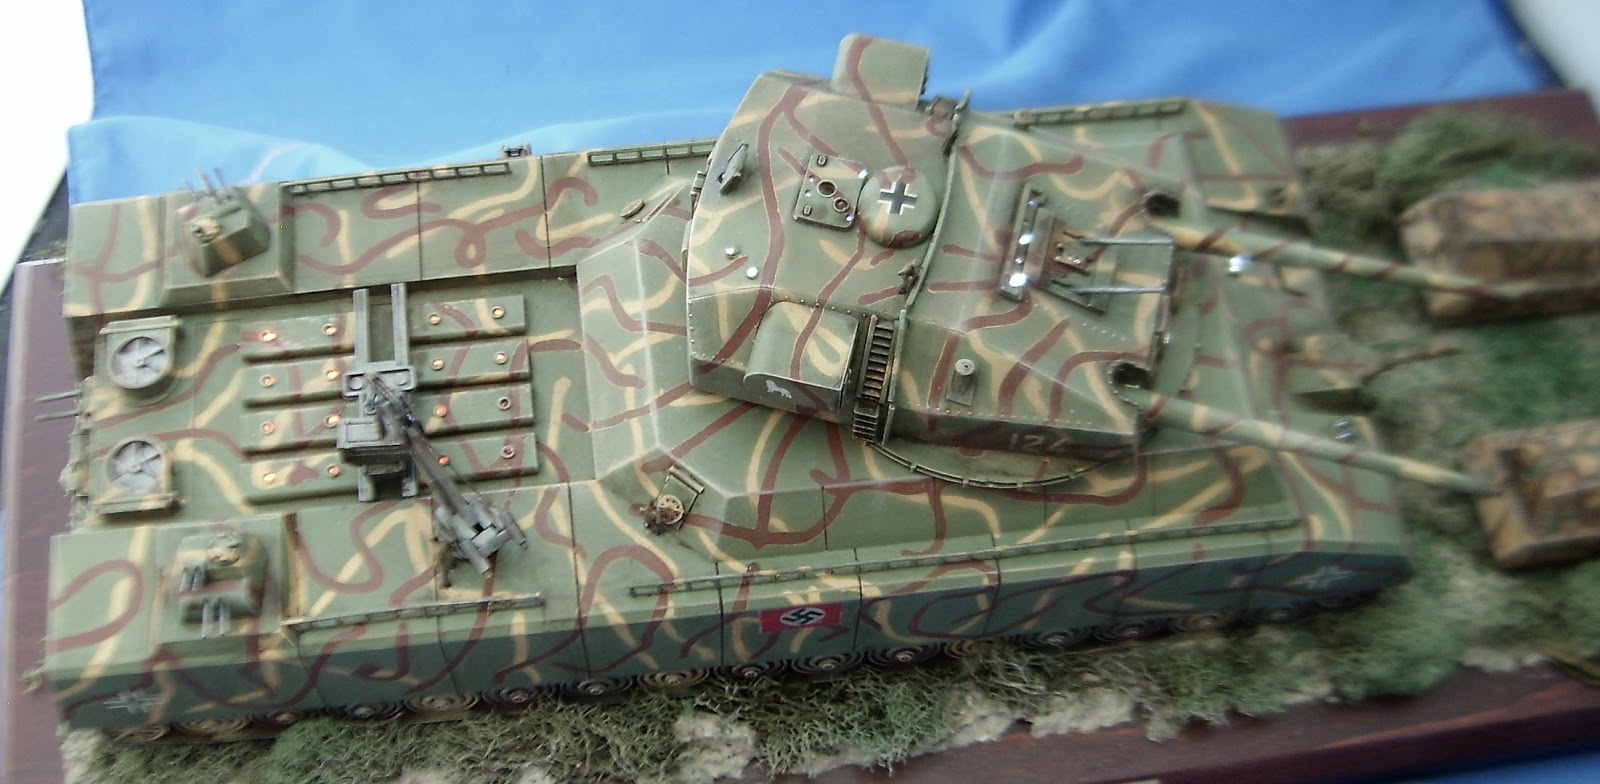
This is the Takom kit, one of their first, which introduced a new era in semi Sci Fi Modeling. As we have read on the websites, this was an actual deign by Krupp in 1942, but scrapped before it could begin production as it was deemed ineffective and a waste of resources. I cant believe it was expected to do 24 MPH. Enough history. Now to the fun stuff.
This is 1/144 scale, so I needed to use some 'N' scale railroad figures to help visualize how big this really was, or would have been. The kit also comes with 2 MAUS tanks to help with the scale enormity.
Since this was for fun, I took some liberties and added some weaponry, and details. I imposed the assumption, being Sci-Fi, that the numerous heat vents on the rear deck were actually giant batteries so I engineered a spare replacement system by adding a battery trolley and crane.
I used the Therapy Putty for the camo patterns on the Ratte and Maus. Yes, therapy, that is what I need.
Since the anti aircraft guns that came in the kit were too fragile and lame, I upped the caliber by replacing with evergreen rod.
This was too cool to leave out of the box and had enough room inside for me to wire up some LEDs and run fiber optics along with a battery pack accessible through the turret. So it has working spotlights, headlights and battery lights.
I did replace the photo etch railings and ladders with plastic. Anybody need any 1/144 scale ship railing? I also had to provide more decals which I got from my spares.
Vince B. April 15.


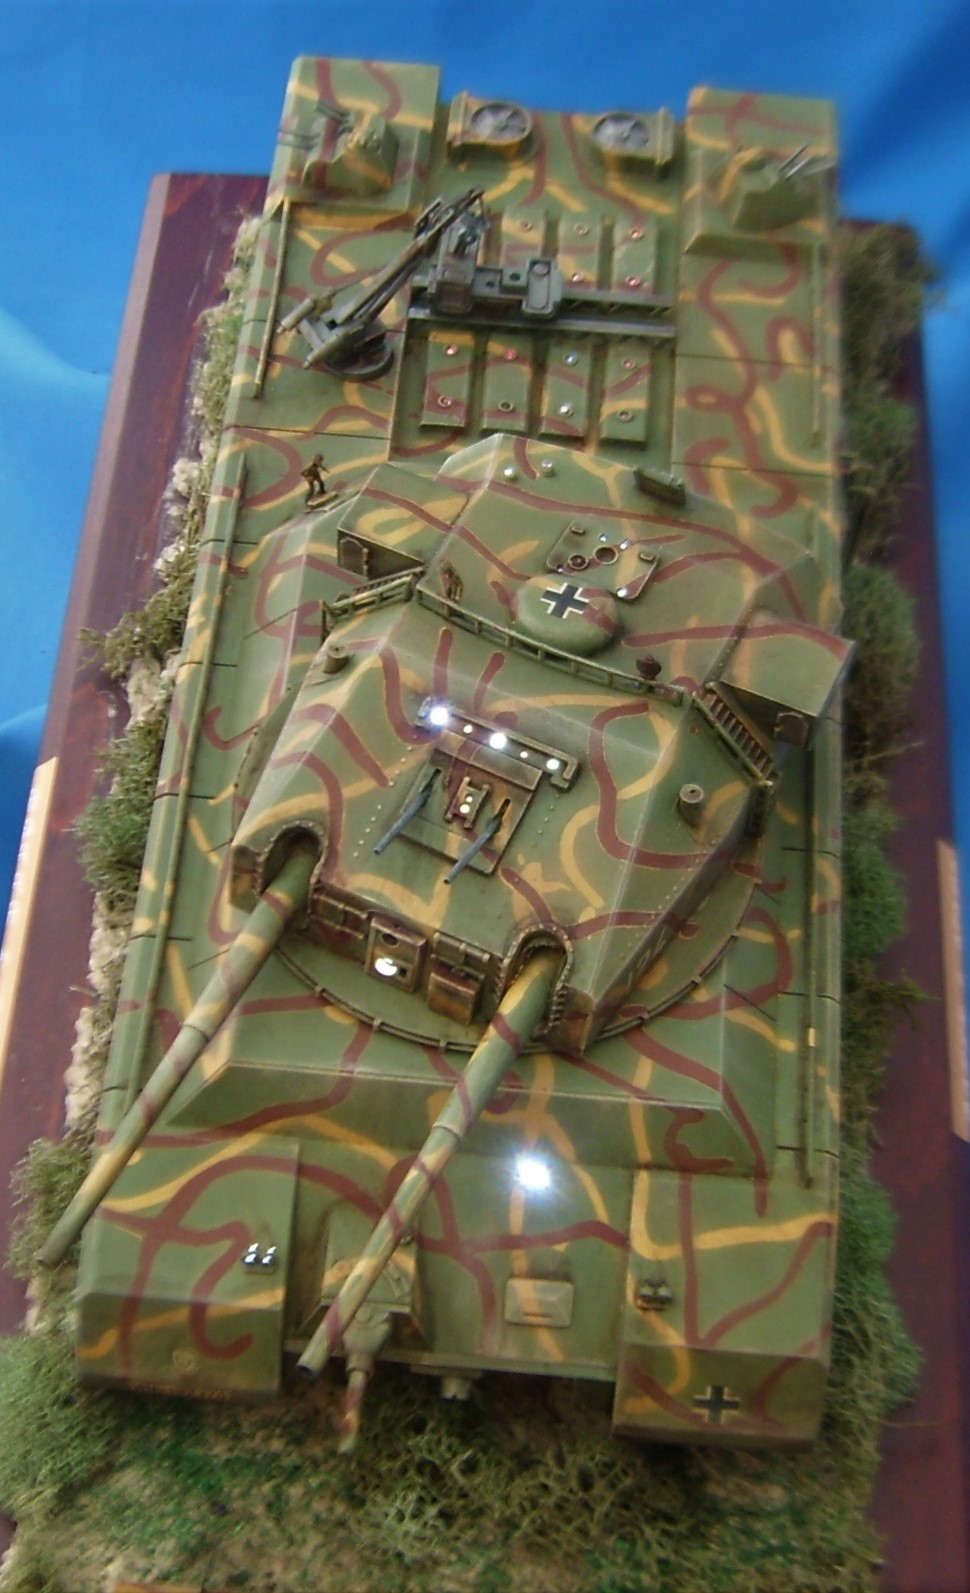


 After building the model out of the box I wanted to add some texturing the turret and front glacis plates. So I used a small chisel and rotary tool to mark up the areas. I then added a diluted Tamiya putty to the areas, pushing it around in different directions to make a very rough surface. I augmented the plate flame cuts with files and the small chisel. As the putty dried I stippled it with a very stiff brush to add more depth. I started using this technique recently and I like the results. The cast hatch ring was also addressed by coating it with Tamiya Super Thin and then stippling it with the stiff brush to give a more sand cast look. As were all the cast parts in the entire project. I let this dry over night before moving to the base coat.
 All the paints I used for the base coat and 3 color scheme are from the Tamiya Acrylic line. The base coat is XF-69 NATO Black and was applied to all the parts and sub-assemblies. I then sealed them all with Tamiya clear. I used Tamiya Lacquer for the thinner of choice throughout the entire project.


