
Wednesday, June 27, 2012


Thursday, June 14, 2012
M48 in 1/72 scale
Hi Gang. Guess it is time to learn how to do this all over again since they changed the blogger.
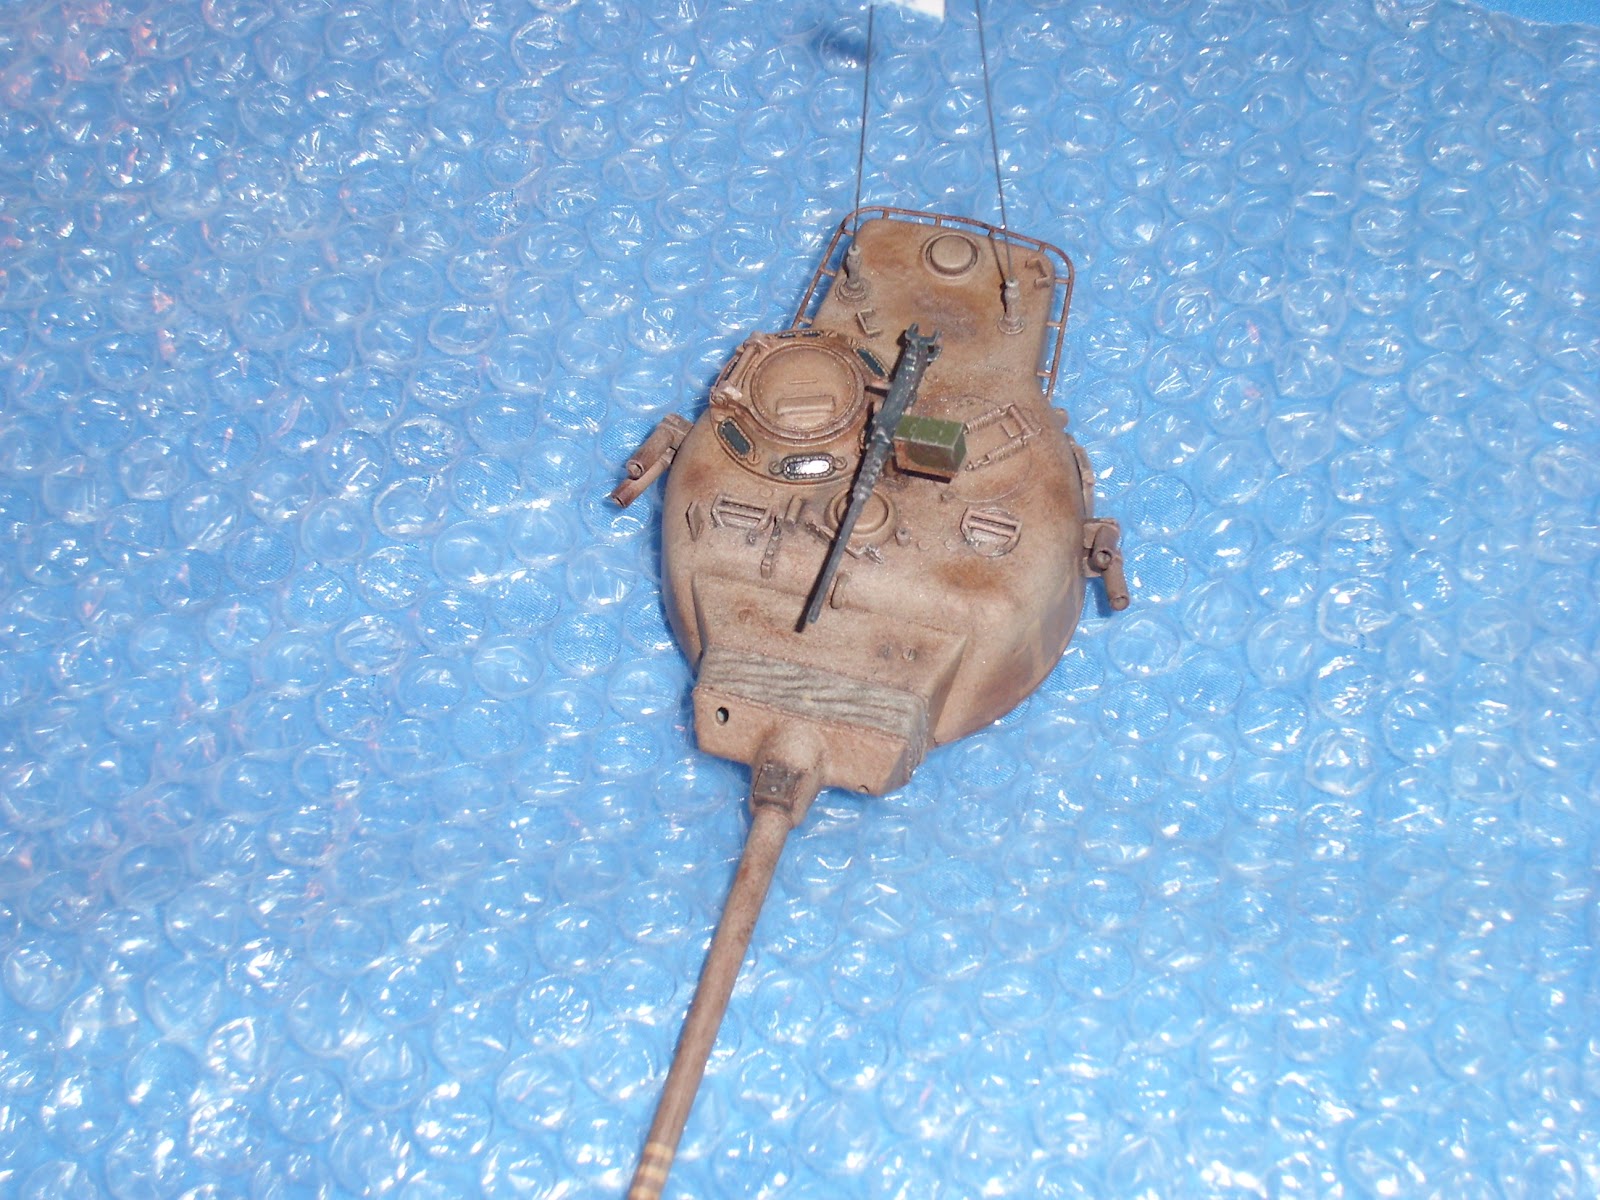
 The kit is an old AMT. There were a lot of inaccuracies and I was only able to improve a few of them. I changed the commanders cupola, added headlight guards, scratch built a tow cable, and scratch built a reasonable muzzle break. I added the power line and the third support for the seach light and the lift hooks on the turret.

Even tthough I wanted a Vietnam version, the barrel is still wrong. The one thing that would have taken way more time than it was worth was fixing the road wheels and tracks. The actual M-48 has split road wheels and a center track guide. I couldnt imagine adding in the track teeth and groving the road wheels.
I selected resin stowage from my stores including packs, bags, boxes and gas and water cans. The antennae are Fiber Optic line.
Has anyone seen 1/72 resin or white metal ammo cans? Does anyone make these in bulk for .30 and .50 cal?

I painted with model Master Enamals and weathered with oils and chalk.
Vince B June 14.
 The kit is an old AMT. There were a lot of inaccuracies and I was only able to improve a few of them. I changed the commanders cupola, added headlight guards, scratch built a tow cable, and scratch built a reasonable muzzle break. I added the power line and the third support for the seach light and the lift hooks on the turret.
Even tthough I wanted a Vietnam version, the barrel is still wrong. The one thing that would have taken way more time than it was worth was fixing the road wheels and tracks. The actual M-48 has split road wheels and a center track guide. I couldnt imagine adding in the track teeth and groving the road wheels.
I selected resin stowage from my stores including packs, bags, boxes and gas and water cans. The antennae are Fiber Optic line.
Has anyone seen 1/72 resin or white metal ammo cans? Does anyone make these in bulk for .30 and .50 cal?

I painted with model Master Enamals and weathered with oils and chalk.
Vince B June 14.
Tuesday, June 12, 2012

Thursday, June 7, 2012


Friday, June 1, 2012
"Celluclay" Mix dialed in.
Hey all,
Here is a more or less accurate receipe for Celluclay diorama ground texture. It can also be used for applying mud to vehicles,figures, the dog etc.. The secret came from reading the instructions on the containers. That brought the cure time way down and also made it more predictable. Some variation is to be expected.
Fast Mache is at Hobby Lobby and is white in color. I used Dap instead of Durham's water putty and "yellow" carpenter's glue works better than white glue. Read the instructions carefully. Mix in a container that is smooth and easy to use for the particular tool you are using so you can stir out any lumps as quickly as possible. I've found one of those roller paint brushes can help spread out the material if the surface your using is relatively flat.
Eric Ward
Here is a more or less accurate receipe for Celluclay diorama ground texture. It can also be used for applying mud to vehicles,figures, the dog etc.. The secret came from reading the instructions on the containers. That brought the cure time way down and also made it more predictable. Some variation is to be expected.
Fast Mache is at Hobby Lobby and is white in color. I used Dap instead of Durham's water putty and "yellow" carpenter's glue works better than white glue. Read the instructions carefully. Mix in a container that is smooth and easy to use for the particular tool you are using so you can stir out any lumps as quickly as possible. I've found one of those roller paint brushes can help spread out the material if the surface your using is relatively flat.
Eric Ward
“Celluclay”
diorama texture mix:
1 part
= 1/3 cup
Ingredients:
Dap
Water Putty 1 part
to *1/3 of 1 part
water
Fast
Mache
3 parts to 1 part water
close container and shake dry
ingredients, add water
add:
Titebond
Carpenters Glue
approx 1 tbspn-less
add:
acrylic
paint to color (Plaid,Ceramcoat,etc.)
approx 1 tbspn
stir.
starts to
harden in 30 min. Sandable in 7 hours
covers
approximately 300 sq.” at 1/8” thickness
Thursday, May 24, 2012

Sunday, April 22, 2012
M4 Sherman Mk V Tulip
This is a 1/72 Dragon kit. The model went together well, but as with all 1/72 Dragon, it has too many tiny fidley bits, many in photo etch. The tracks were the gluable Vinyl / Styrene. I added various resin stowage and wrapped it up in gause for netting. The antenna is a piece of fiber optic cable. The background wall was an Italeri Church ruin.
 The subject is the British modification to add launchers to mount the Typhoon rockets. These had been used successfully from the air and was the only means of taking on a Tiger head on with a Sherman. These guys had to be nuts as by the time the Sherman Tulip got a Tiger in sight, it was too late. Its not a wonder that photos of these Shermans are hard to find.


Wednesday, February 29, 2012
Monday, February 27, 2012
Army’s New Hybrid Tank
Tank Targets Our Enemies and Soaring Oil Prices...

http://gizmodo.com/5888644/armys-new-hybrid-tank-targets-our-enemies-and-soaring-oil-prices
Sunday, February 26, 2012

Monday, February 20, 2012
Packing it in
AMPS Atlanta show, Feb 17-19.
The show was great as it was aligned with the Atlanta Model Figure Society. Overall there were about 500 models and figures on display or entered. Since I had to fly up to Atlanta, I needed to pack my models and store in the checked luggage........No, I am dead serious, so much so that I was asked by one of the guys in the AMPS club to write an article and take pictures of how I packed the three models and successfuly transported both ways without incident.
First thing to realize is that this will not work on all models. Plan in advance by making antennae, turrets etc removable. I had to select my Shermans as the antennae are on the turrets which were easily removable and wrapped separately. Using light bubble wrap, I set the turret and made a tent by taping the ends over the antennae.


The hulls were permanently attached to bases so had to be extra wrapped. Bubble wrapped in one direction, taped and wrapped 90deg in the next layer. Each layer taped securing the bubble wrap with the excess folds over the hull.


The show was great as it was aligned with the Atlanta Model Figure Society. Overall there were about 500 models and figures on display or entered. Since I had to fly up to Atlanta, I needed to pack my models and store in the checked luggage........No, I am dead serious, so much so that I was asked by one of the guys in the AMPS club to write an article and take pictures of how I packed the three models and successfuly transported both ways without incident.
First thing to realize is that this will not work on all models. Plan in advance by making antennae, turrets etc removable. I had to select my Shermans as the antennae are on the turrets which were easily removable and wrapped separately. Using light bubble wrap, I set the turret and made a tent by taping the ends over the antennae.

The wrapped turrets were laid sidways in a padded plastic container. Another layer of bubble wrap was laid over them secuting them in place before putting on the lid. As these were light, they had no means of sliding or crashing into each other.


The hulls were permanently attached to bases so had to be extra wrapped. Bubble wrapped in one direction, taped and wrapped 90deg in the next layer. Each layer taped securing the bubble wrap with the excess folds over the hull.


These were also laid into a separate plastic padded tub. Several more layers of wrap were packed to keep the bundles from sliding. No room to move once the lid was fastened.


These were packed with my clothing so the tubs did not move and could not open. The only unfortunate circumstance was that I didnt have room to bring much back from the show. I did end up wrapping some small items and packed in te tubs along with the turrets and hulls. Dont forget to take the tape with you to re-wrap for the return trip.


Vince Barrale 2-22-12
Sunday, February 5, 2012
Viet Nam Gun Truck
AFV Club kit, NANCY. This was an experiment in Gun Trucks. In doing the research on these VietNam inovations, I found that many of them were named and some are still existing and restored. The old combat photos I found were mostly worn, but some of the renovated show trucks had good pictures posted.


 Vince Barrale Feb 5-2012

I found the kit to be challenging as I knew little about the workings of the original 5 ton trucks on which these were based. It has inspired me to design my own version of a converted cargo truck of that era or possibly of those more recently used in Iraq.

 Vince Barrale Feb 5-2012
Saturday, January 28, 2012

Saturday, January 7, 2012
M1A1 Abrams - Tamiya
Tamiya 1/35 M1A1 Abrams. This may be an older kit as demonstrated by the battery and motor mounts in the lower hull. It was as usual for Tamiya, a relatively simple build. The hardest choice was what paint scheme to follow. I selected the 3 color camo but placed it in the desert as one of the initial unit into Iraq. Normally my weathering depicts grassy or muddy environments, but after studying photos, I realized that I had to wash the surface edges with a Yellow Ocre color to depict dust and sand settlement.


As you know, the M1A1 is a big tank. Now I have to make room for it in the display case. Now back to some 1/72 armor that I have room for.
Vince Barrale - 1-8-12

I added a lot of plastic and resin accessories, tents, bedrolls, water cans, gatoraid, straps and antennae.


As you know, the M1A1 is a big tank. Now I have to make room for it in the display case. Now back to some 1/72 armor that I have room for.
Vince Barrale - 1-8-12
Subscribe to:
Posts (Atom)