Wednesday, December 23, 2020

British Sherman ARV

This is my entry in the club's Engineering Build.  I started with the Cyberhobby Sherman M4A4 tank kit. To convert it into an ARV, I used the Legend conversion kit, which consists of a lot of resin parts and a lot of photoetch. The figures are from the Miniart British Tank Crew. The jerry cans are from an AFV Club set and are tied down with a heavy thread I found at Hobby Lobby. Insignias were sourced from Accurate Armor and Archer. One antenna base is scratch built and one is an aftermarket 3D print. Antennas are fiber optic line. Stowage behind roof hatch is from Value Gear.

The Cyberhobby kit assembles beautifully. The Legend set is pretty good but the resin has heavy lugs on some of the parts. Reference photos of the real thing are also helpful in placing items, although there are pretty good photos with the set. I had to scratch build parts of the interior just in case one could see in through the open hatch, around the figures.


Light weathering was done with oils and powders. My photos didn't show them to be muddy, just dusty, with little rust. I also darkened the the jerry can tie down aftertaking these photos.

Despite cursing a few of the parts in the Legend transkit, this was a really fun build.


Saturday, December 19, 2020

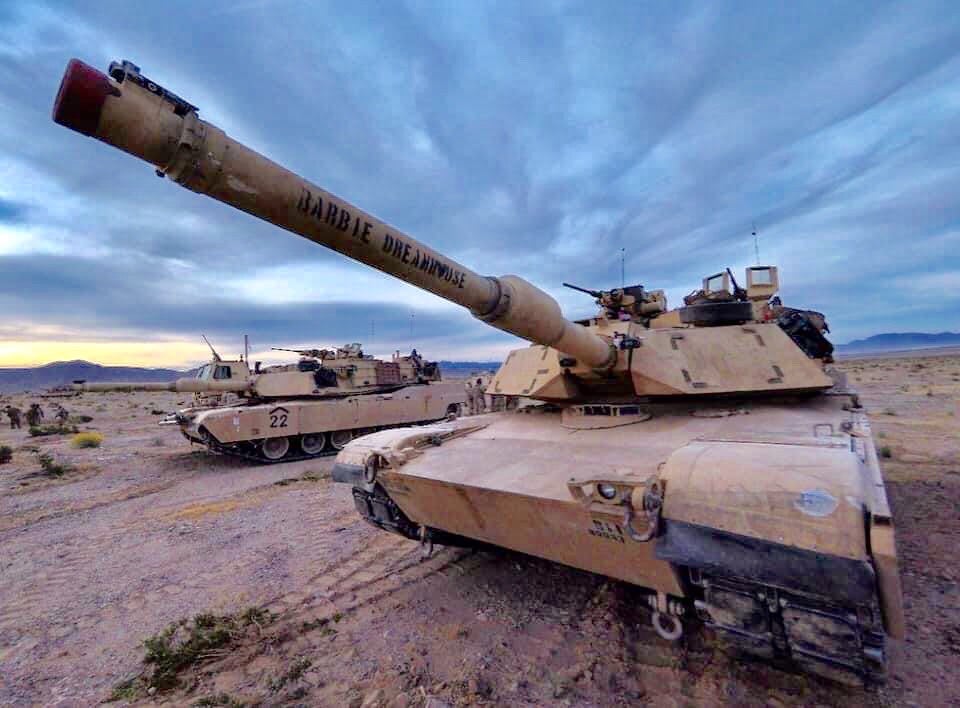
Greatest Tank Name Ever?


Click Here for the story on how the tank got its name.

Thursday, November 19, 2020

1/72 Merkava Mk IV

 This is the 1/72 Merkava Mk IV by HobbyBoss built for our "Speed Build". It is box stock (of course) and painted with Velejo paints in the "black basing" method. It was primered in flat black, and then painted with Model Air paint that had extra thinner added. The color is called Hemp and is what Valejo recommend for modern IDF armor. A very nice little kit.


Wednesday, November 4, 2020

Armor for Halloween

 I know this is a little late, but I only just came across the photos. Costumes for your armored vehicle on Halloween. 

First is a Taiwanese APC desguised as a crain. This is apparently so that the vehicle might survice a Red Chinese invasion.


The second is an Idaho National Guard Humvee dressed up as a T-72 tank during training exorcises.


Possible modeling subjects? The APC is doable, but you may need to know how to sew to do the Humvee.

Thursday, October 15, 2020

IDF Magach 6B

 Academy's kit, with additions of a Legends Conversion set and home made .50 cal solenoid power control.  It is painted Sanai Grey,made with 50/50 of Tamiya XF-49 Khaki and XF-66 Light Gray.  Then some heavy weathering in the panel lines.

We are under construction. 
The kit parts are in yellow and the Legends conversion set is in gray.Add caption.


The model's construction is now complete.


Primed and panel lines shaded, ready for painting and completion.


And now some shots of the completed magach 6B!


Both Vince and Werner built similar kits and posted their results on this site some time ago.It willbe great when we can all get together "live" and get these 3 builds together for a fun discussion.

Wednesday, October 14, 2020

First Jon Baker Memorial Group Build -- and my Sturmtiger

My Sturmtiger won first place in our recent Baker contest at our Sept meeting.  There were 12 entries, one of which was virtual.  There were some terrific builds on the table, and I am honored that my club picket my kit as the winner.


The contest rules specified something from Baker, a figure and a base.

The Sturmtiger (380 mm assault mortar) is a Tamiya kit from Jon's estate, it was missing most of the road wheels and suspension, treads, figure, decals.  I called Tamiya USA and ordered the missing parts and they were here within a week.  The extra mortar shells on the ground are Tamiya and were in the box.  The 2 repairmen, tools and ladder are also Tamiya, and the two are working on the engine.  And then there is the engine and radiators.  The commander figure watching from the ground is a Dragon figure.

Most of the ground work came from John Ford's estate, too.

This photo shows the completed interior and light before attaching the turret to the hull and painting, weathering etc.  

Too bad the radiator compartments had to be closed up. 

Sunday, October 4, 2020

Bolivian Vickers E Mk A

 This is the 1/35 Mirage kit of the Vickers E Mk A tank. I've painted it as one used by Bolivia in the Chaco war against Paraguay in the early 1930s.


In the few photos I could find (only one in color), the camoflage is barely decernible, but I knew it started as yellow/brown/green. Also in the photos, the tanks never looked too beat up, just faded and dusty, so that was the effect I went for. To achieve the faded look, I first painted the entire tank Tamiya buff. The green and brown were created by starting with buff and then adding color until it was just visible as green or brown and not buff. Those colors were airbrushed through homemade paper templates, to keep overspray to a minimum.


Weathering was done with white & ocher dot wash and then a burnt sienna pin wash. This was followed by a wash of AK Dust Effects and then Mig North African Dust pigments fixed with oderless mineral spirits. The pigments seem a liitle large, almost like rocks, not dust. The overall effect is just about what I wanted to achieve, but there should probably be more pigment on the lower hull sides (inside trackloop).


The base is the first time I've used a static grass applicator. First layer went down OK, but kind of messed up with second attempt. Also, too monotone and too close to the ground color (Velejo Desert Sand Earth Texture paste). I wanted a dry grass look, but...


Wednesday, September 30, 2020

Goliath

Good afternoon everyone. I was going to introduce this tomorrow on the Web Call as many of you have been following it's progress. I still may make a few tweaks, but it is complete and as you can see, on groundwork with the Warhammer figures in the foreground for reference.

As you may remember, y'all sent several sci fi artist pics to give me ideas on what to build back in May ??  So, this is what resulted from all that experimentation. The intention was to look somewhere between a wargaming vehicle and Steam Punk.  It may be difficult to recognize the three main armor hulls used in this monstrosity.

KV-5, M113 (2). Most of the rest was scrap built or modified components of the KV-5 kit. You can see that the track systems worked out near perfectly in spacing and alignment. Since the vehicle is 1/48 scale, I was able to use Tamiya German crew figures inside the turret. 

Of course at this size there was room for some lighting and circuits. Lights look better in person so be at the next meeting in November.


The groundwork depicts a battlefield where Goliath and troops have routed the enemy and overrun their emplacement.

Normally a scrap build design project like this takes a year or so working sporadically, but this was so much fun, the work moved along rather quickly.

Vince B.  10-1-20

Thursday, September 17, 2020

 ENTHUSIASM INJECTION

I've been working on 2 builds for a while, an entry to the John Baker Commemorative Build and one for the Engineering Vehicle Build.  Both have laid siege to my bench and as of Tuesday night I had lost my modeling Mojo.  The Engineering Vehicle is from Rye Fields Models and has about broken my will to live with all it's minute detailed micro components.  I read somewhere that a remade for loosing your modeling Mojo is to step back, clean your bench and then take a shot at a one day quick build.  This is my attempt at this course of action with the hopes of injecting some enthusiasm back into my efforts.

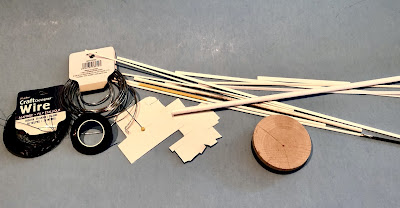
I've had in mind a vignette that would include US Comms team maintaining a remote solar powered antenna array.  I have all the other components of the vignette (not yet built) but I had nothing for an antenna.  So here is my shot at a one day scratch built one

01 Hours - Plan made & materials collected


04 Hours - Coarse build complete

05 Hours - Primed & Dry (most warts now hidden) 

08 Hours - Painted and Weathered

Well so much for a Wednesday!  Still got some clear coating and weathering to do.  I'll get to that when I do the vignette.  I think it did work on helping me regain my Mojo. The problem now is I have enthusiasm for this new vignette and absolutely none to go back to the two builds initially mentioned at the beginning of this post.  I guess that's how some of us have 5 to 10 projects going at one time.

Thanks for looking.  -  George

Saturday, September 5, 2020

Rheintochter R-1

 Well it wasn't so hot today so I was able to finish the groundwork in the garage. 


This is the AMUSING Hobby kit of the German's attempt at guided missiles. I must say that it came out a lot better than I had expected. You would not believe the amount of fidley bits, NOT photoetch, but lots of stuff I could have lost or launched in the tweezers. I was able to complete this out of the box.                                                                                                                                                          This was actually a 2 stage rocket.  The main thrusters and fuel tank was at the bottom. The guided portion and warhead were the upper sections.
I have seen some varying information on the actuality of this rocket and launcher. It did exist.  There are some great museum photos on line of captured rockets.

Rockets were launched.  The design was modified to reach higher altitude and I believe some were actually used in combat against allied bombers but to little effect.


The rocket fins were actually made of highly polished wood which lightened the weight of the rocket.  These were the first Guided Missiles.  The small fins on the tip of the rocket were control surfaces.

Vince B.  9-5.


Sunday, August 30, 2020

M4A1 Sherman

 This is the old Italeri 1/35 scale kit. Not great but was workable. Fit was fair as were the details, so I did have to add the spare machine gun barrel holders.

I had some resin stowage sets from Value Gear which allowed me some added details. I used some good ship thread as ropes and tied it all down. The decals began to shatter as I slid them off so I had to make allowances. 
I painted with layers of enamels and washed with oils. Then the fun part was in adding the splashes and pigments. I dont like to add too much mud on the tracks and gear as that hides some hard work. 
Overall I think it came out pretty good. 

Vince B.  Aug 30. 

Friday, August 7, 2020

Engineering Vehicles

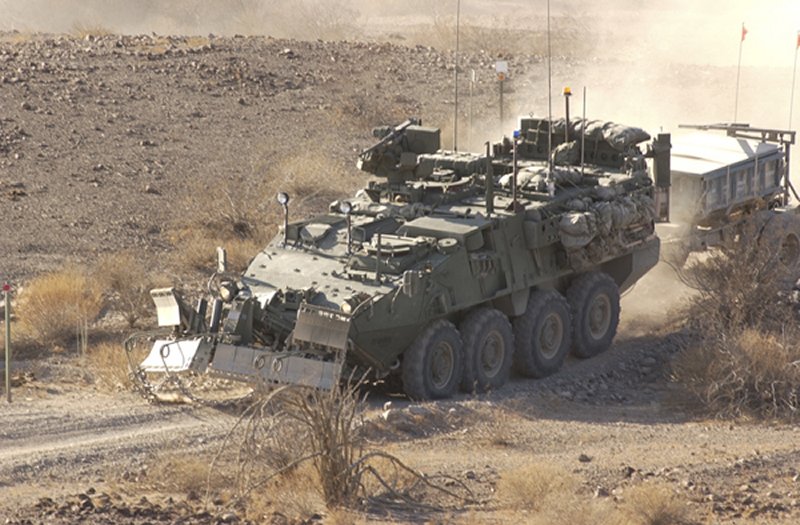
 On our Thursday evening Google Meet-up, we were discussing the possible build subjects for next year. One of those subjects is Engineering Vehicles. The discussion turned to "What exactly are engineering vehicles?". Here is the Wikipedia entry for engineering vehicles:

https://en.wikipedia.org/wiki/Military_engineering_vehicle


Friday, July 31, 2020

Rolls Royce Armored Car ~ 1920

This is the 1/35 scale MENG kit that came out a few years ago. Fit and details are good. Beware of the 4 different versions. Be sure to follow all of the parts options for the version you want to build before starting. 

After taking these photos I realized the headlamps were too clean.  That has since been corrected. 

The markings on the top of the turret were a 3 piece decal. 

The kit comes with two types of wheels and tires.  The 1914 initial versions were plastic multi part with photo etched wire inserts.  Yuck.  I built those very carefully then realized that I needed the full rubber wheels and solid hubs, much easier, for the later versions.

Painted with enamels, oils and pigment powders. 

Vince B.  Aug 1,  2020

Haunebu II in 1/144 scale

This is the Pegasus kit. One of the last thinks I bought at Hobby Town. Not a great fit or lots of detail. 
It also needed some extra decals from my spares. 


There aren't too many parts but the rounded bridge sections do not fit together and leave a slot between them.  I managed to make use of that defect and included in the lighting effects.

The machine gun barrels were solid and not well detailed so I just replaced them with stainless steel tubes so I could feed fiber optics through them. The fibers are run to a single LED which is powered by a flashing circuit in the base. The interior is lit with strip LEDs.

I created a U-Tube short to illustrate the full effect. Look for  Pegasus 1/144 scale model of Haunebu II

Vince B. 8-1-20


Wednesday, July 29, 2020

Sd.Kfz 231 6 Rad

This is the 1/35th scale Italieri kit of the German WWII 6-wheeled Sd.Kfz. 232. I left off the radio arials, which converts it into a Sd.Kfz. 231. The commander figure is from the Miniart "German Tank Crew (France 1940)" set. Despite this, it represents a vehicle used in the invasion of Poland. The bucket is from Armand Biardi with a wire handle.

The vehicle is painted with Tamiya German Gray and Flat Brown. The camo was airbrushed freehand. The figure is hand painted with various acrylics. Weathering was done with oil washes and PanPastels. (Yes, I finally broke open one of the sets I got from Amazon a couple of years ago.) It is only lightly weathered as they seem to be pretty clean in most of the photos I've seen. I was going for more of a dust than mud effect.

Ground cover is railroad grass over Vellejo Brown Earth paste. The plants are autumn goldenrod from Scenic Express.

This is my Jon Baker Build entry.